Little Dripper
A highly repeatable method for high-speed multi-substance water droplet photography.
Designed and build during a 2025 hackathon by:
Myself: Ideation, pump system design, component sizing, initial motion planning, master sketching, detail part design, machining, build, photographing
Sam Porter: Linkage design, component sizing, master sketching, detail part CAD, machining, build, photographing
Ryan Rivard: Firmware, motion planning, electrical integration
The Origin
In 2008, a short lived show called Time Warp began running on Discovery channel for a total of 33 episodes. I would sometimes record the show on our family camcorder, and then play it back even slower during the commercial breaks to fully savor the slow motion details.
One scene from Time Warp has always stood above the rest in my memory. A water droplet photographer was invited onto the show, where he carefully adjusted the flow rate of a gravity fed spout until water droplets were produced at a consistent periodic rate. That rate was then fine tuned until the rebound of one water droplet was hit by a second droplet.
Upon seeing the corona of the exploding droplets, I was instantly hooked, and rushed to the washroom sink during the next commercial break to try and grab a photo of it myself. Limited by my camera, the lighting, the water source, and most of all my own knowledge, I was unable to recreate what I saw on screen. But the scene has always stuck with me, and I knew one day I would have to try again.
The Goal
By 2025, water droplet photography had already been exhausted. When I decided to pick up this idea again, not only had it become a default project to do but to my dismay it had even been commercialized.
I knew that buying an off the shelf dropper would never satisfy my long standing dream do do this, but I also knew that if I were to build it, I would have to create something that did not already exist in the endless water droplet photos I saw online.
I settled on a fairly ambition plan: Create a device that can drop two different liquids along the exact same axis, and do it so repeatably that the images could be captured on analog film.
The Napkin Math
The big question to solve when thinking about this idea was “How do you drop two liquids on the exact same axis without the lower nozzle being in the way of the upper one?” I originally toyed with the idea of angling the nozzles, but there was something perfect about the idea of a purely vertical drop that was too compelling to ignore.
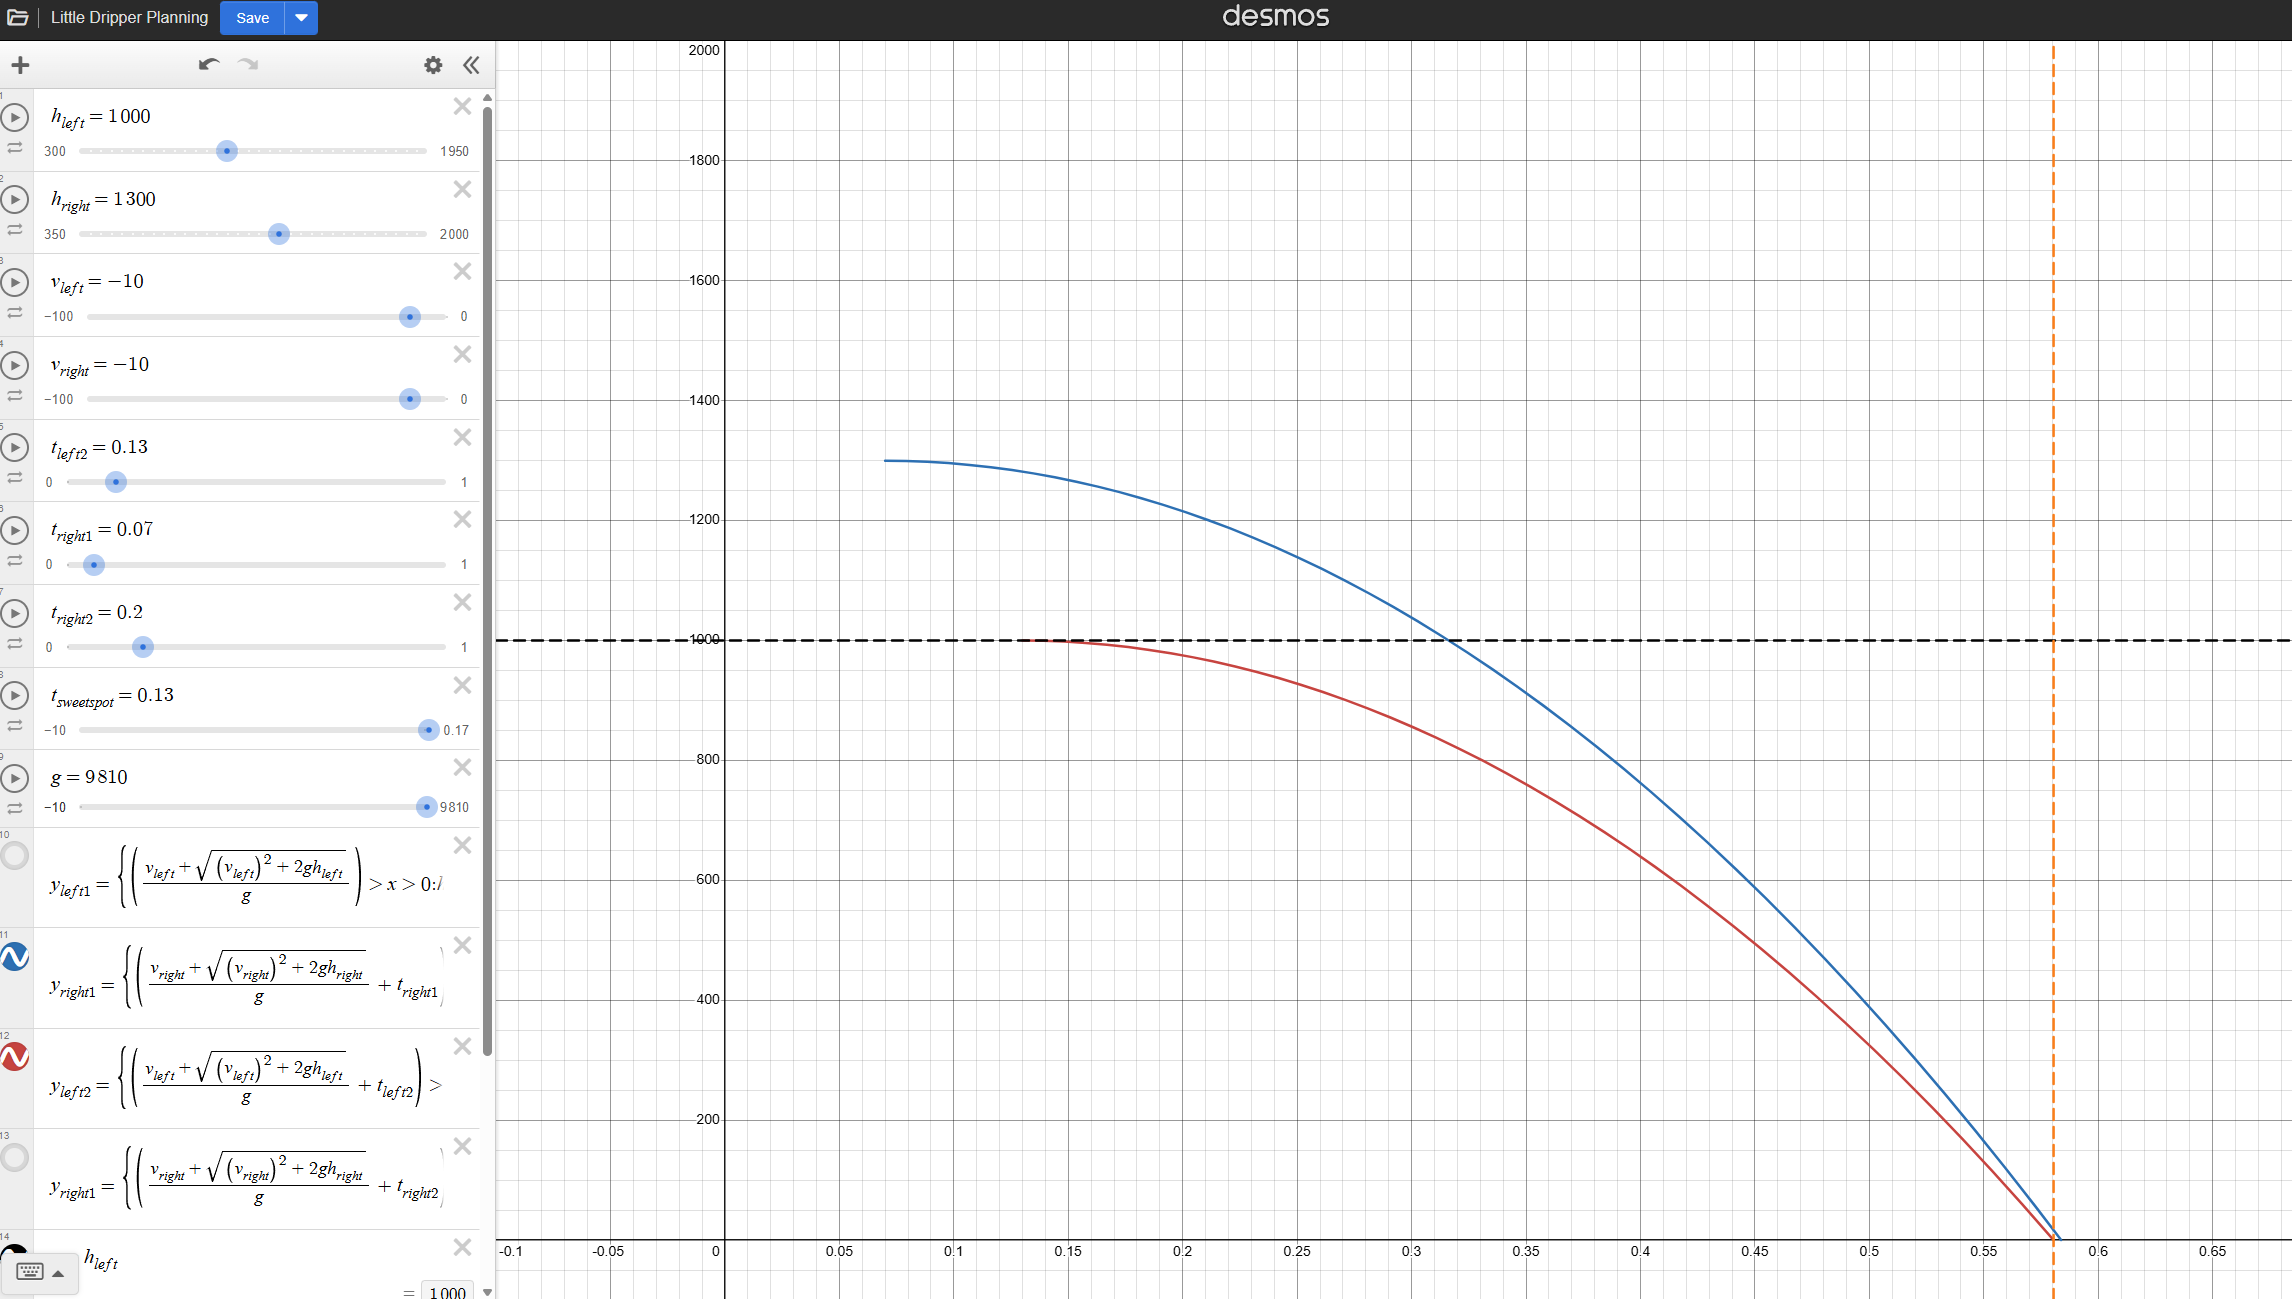
To check that this plan in my head was feasible at all I made a basic Desmos calculator to see how quickly I’d have to “dodge” the lower nozzle away, and to see how mismatching the heights of the two nozzles could increase the dodge window.
When the resulting math spit out reasonable numbers for spout dodging time, there was nothing left to do but to design and build it.
Part Design
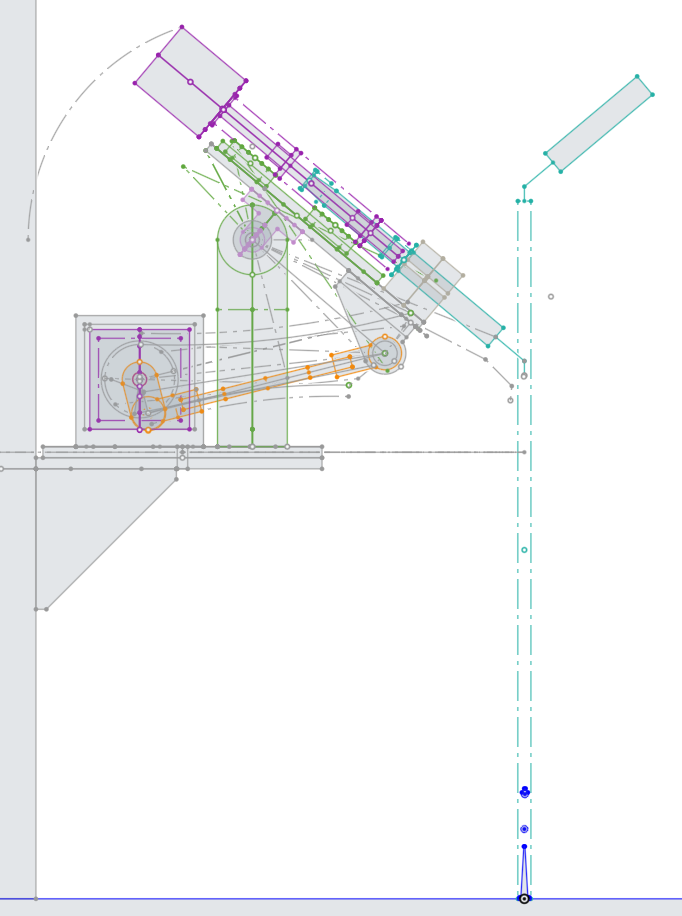
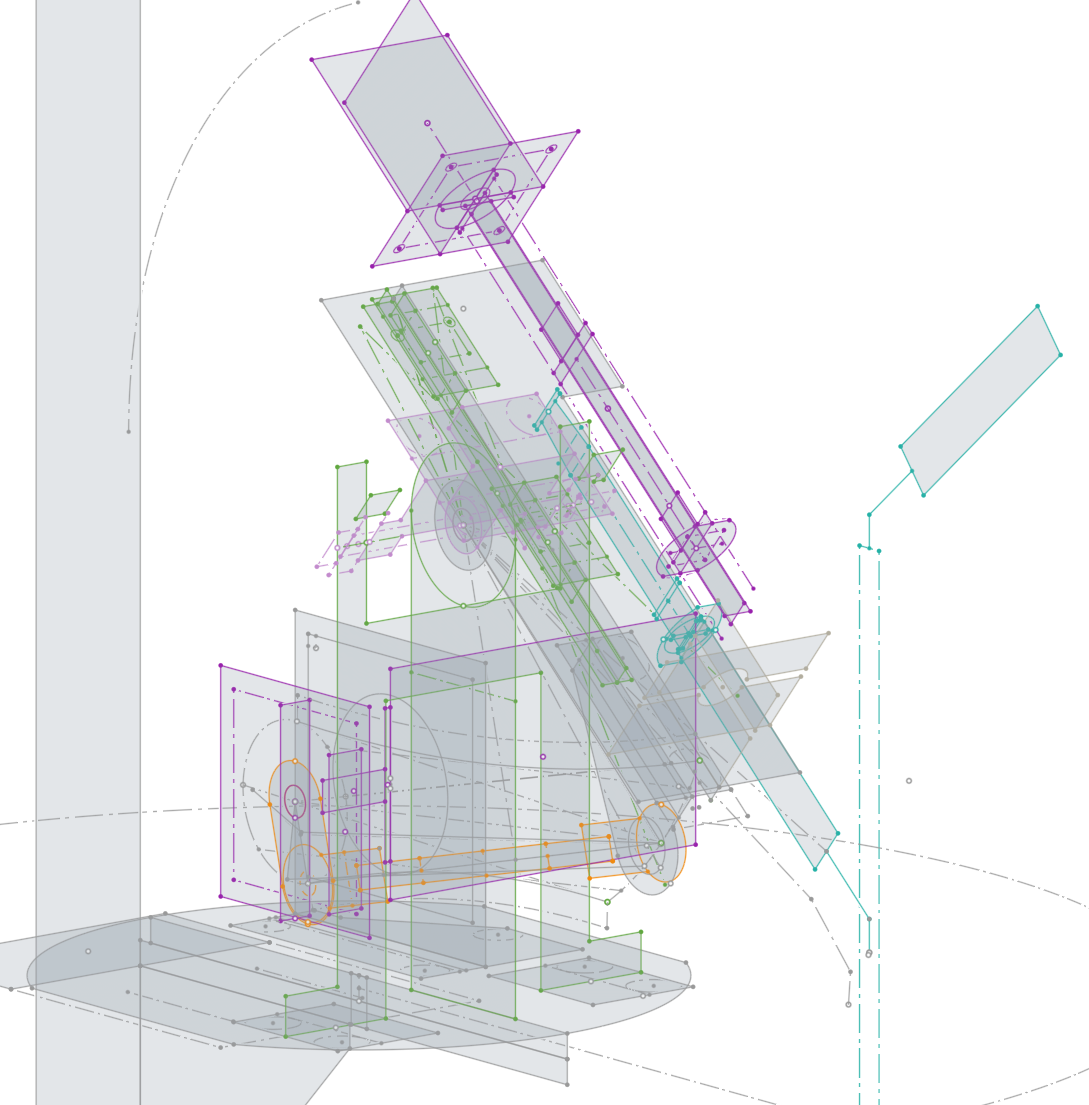
Master sketches to define the locations of everything, standard linear motion on the piston pump using a lead screw and linear rail. No need to overcomplicate with a ball screw since the piston is taking a one way trip whenever precision maters.
A linkage to pivot the pistons out of the way was picked here because it gave more freedom later to adjust the sensitivity of the system (adjusting the ratio of steps to displacement in the X axis).
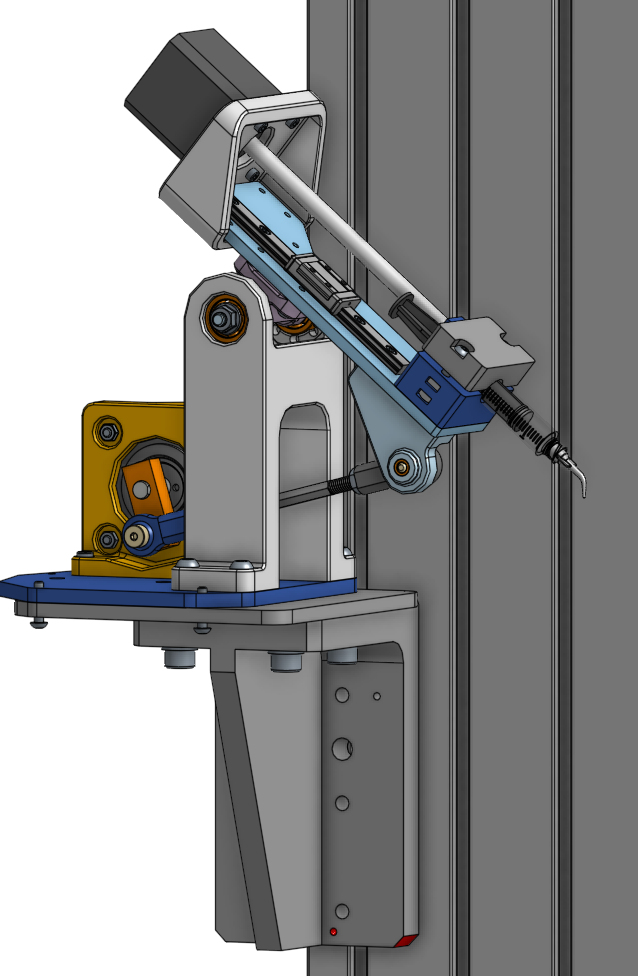
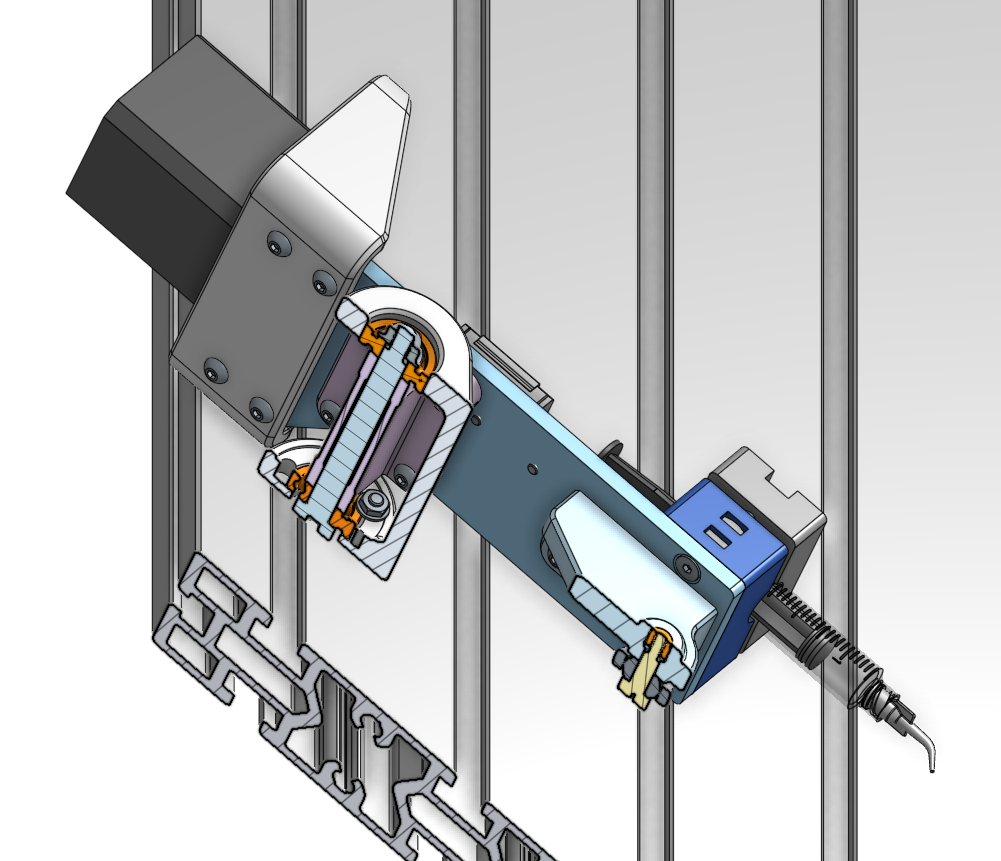
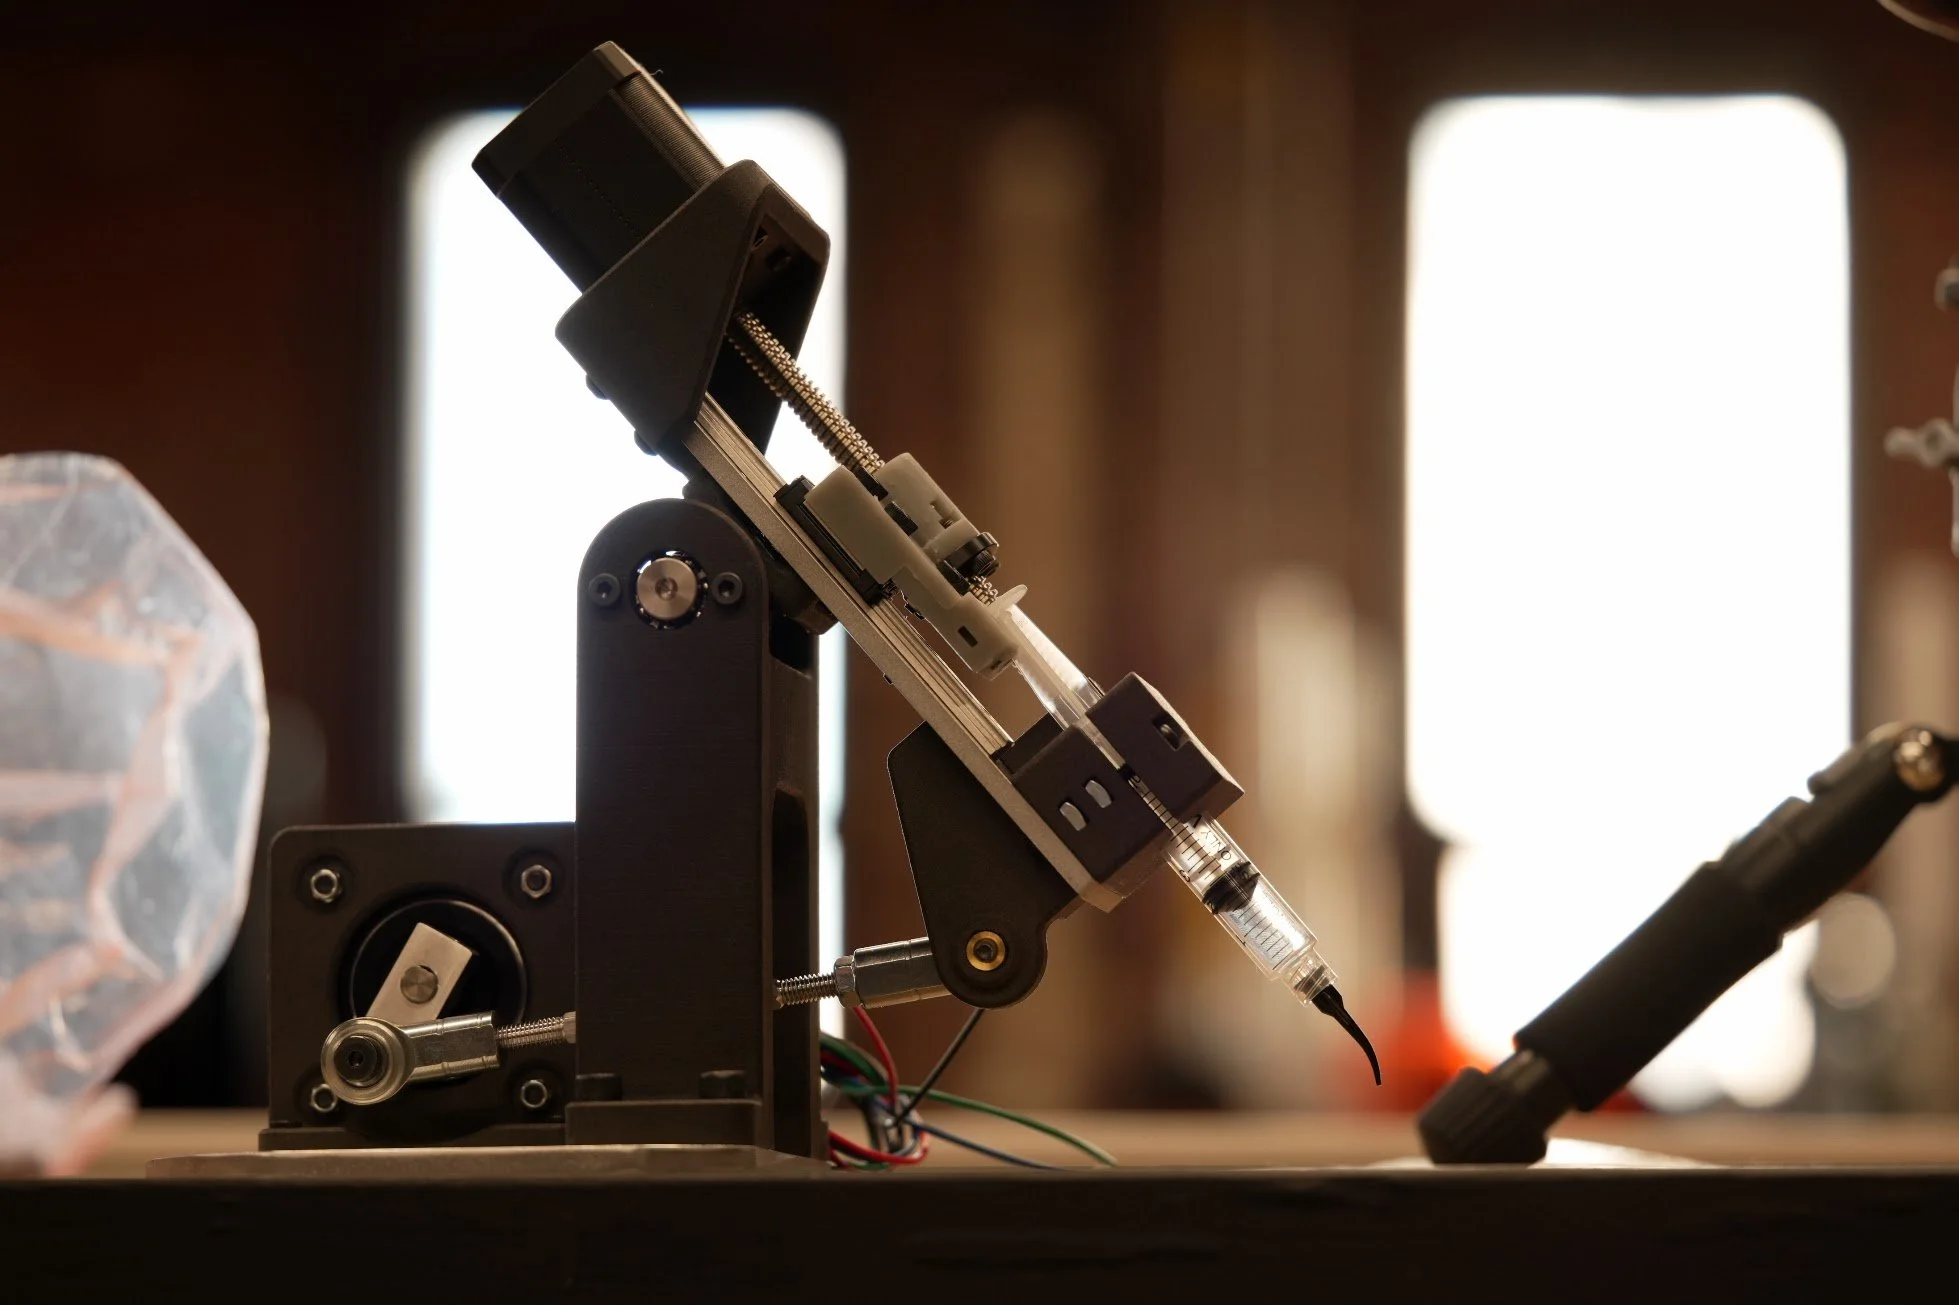
Details of the pivoting components. The primary pivot point is accomplished with a long shoulder screw and nut preloading the inner races of two bearings against a pivot bracket. The other point that connects the linkage does not require the same precision and is downgraded to a less exciting shoulder screw + ball joint rod end.
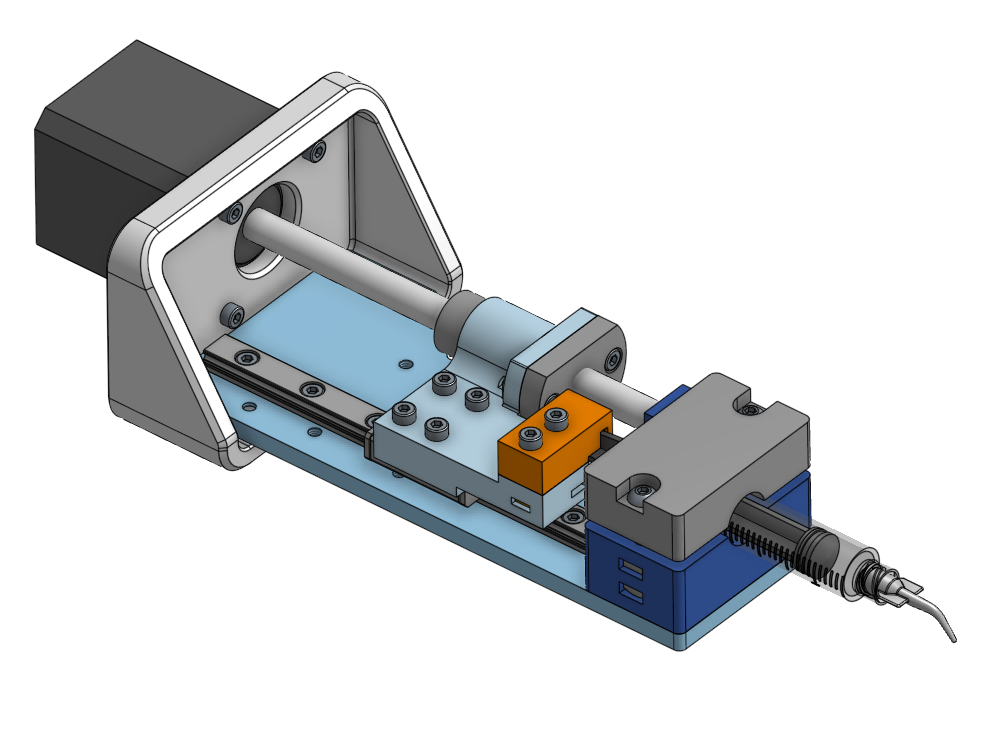
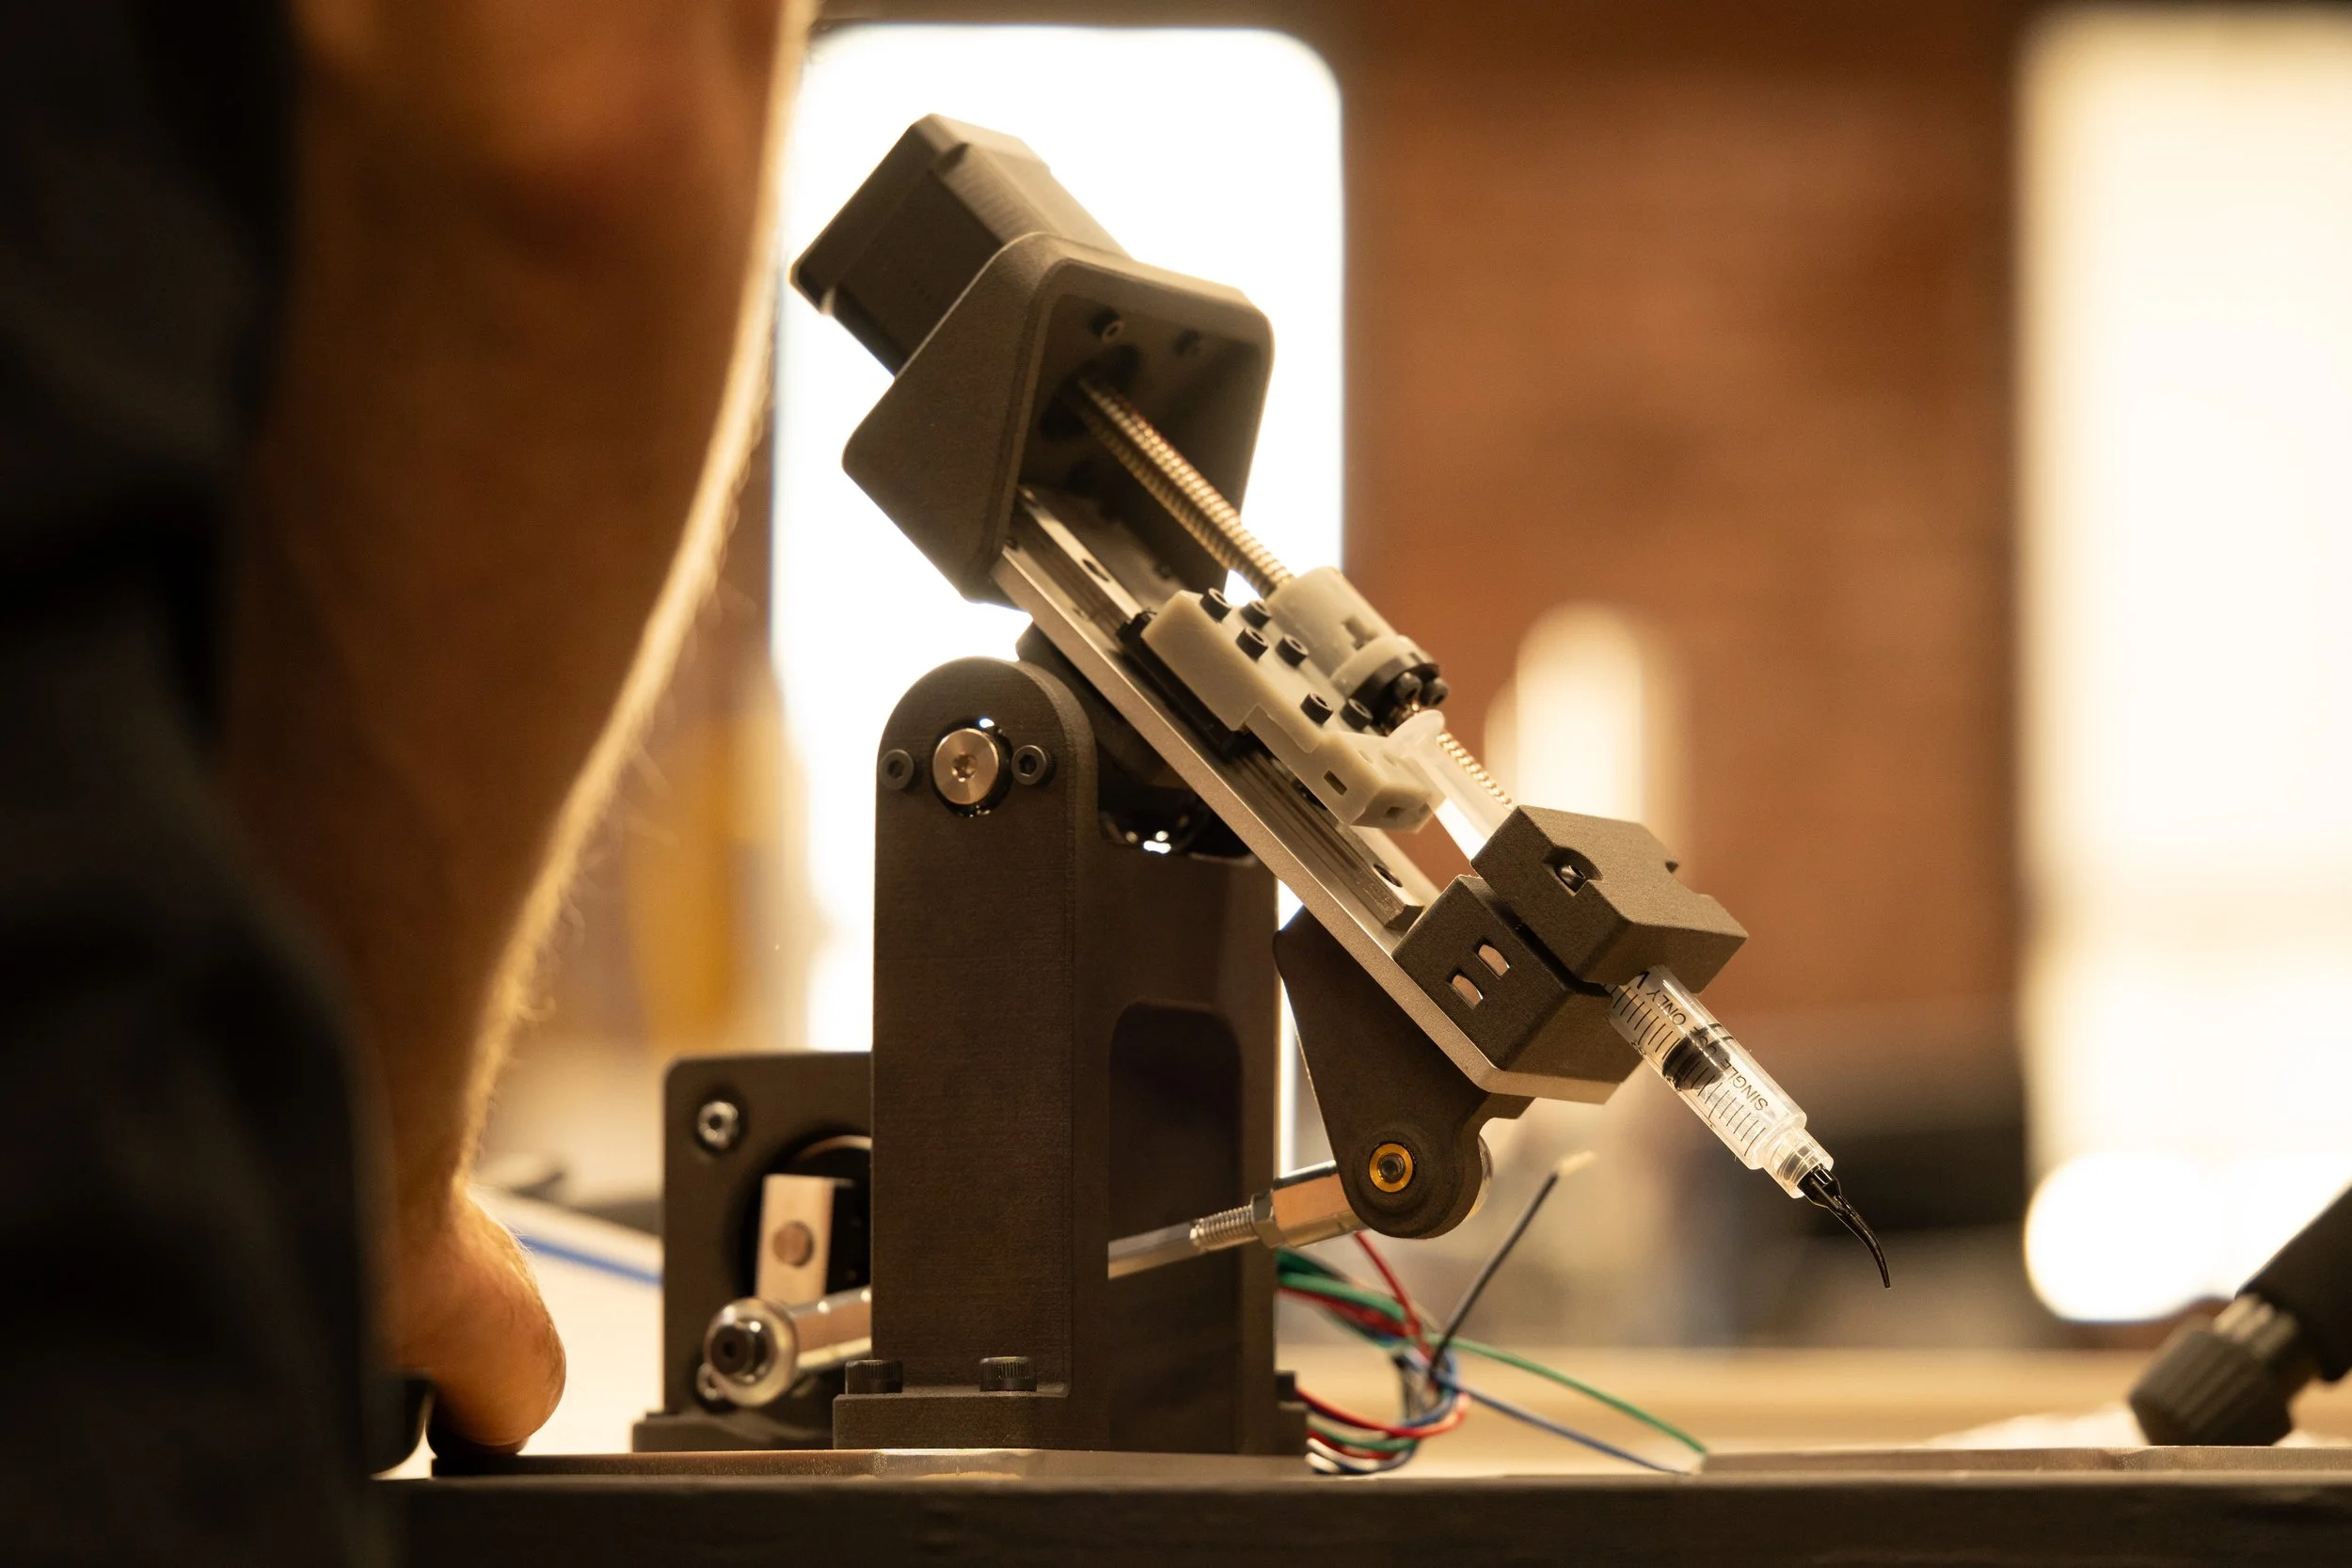
Piston pump details. Nothing too exciting going on here. Main focuses were to keep things dead simple and modular so different syringes could be tested.
The Build
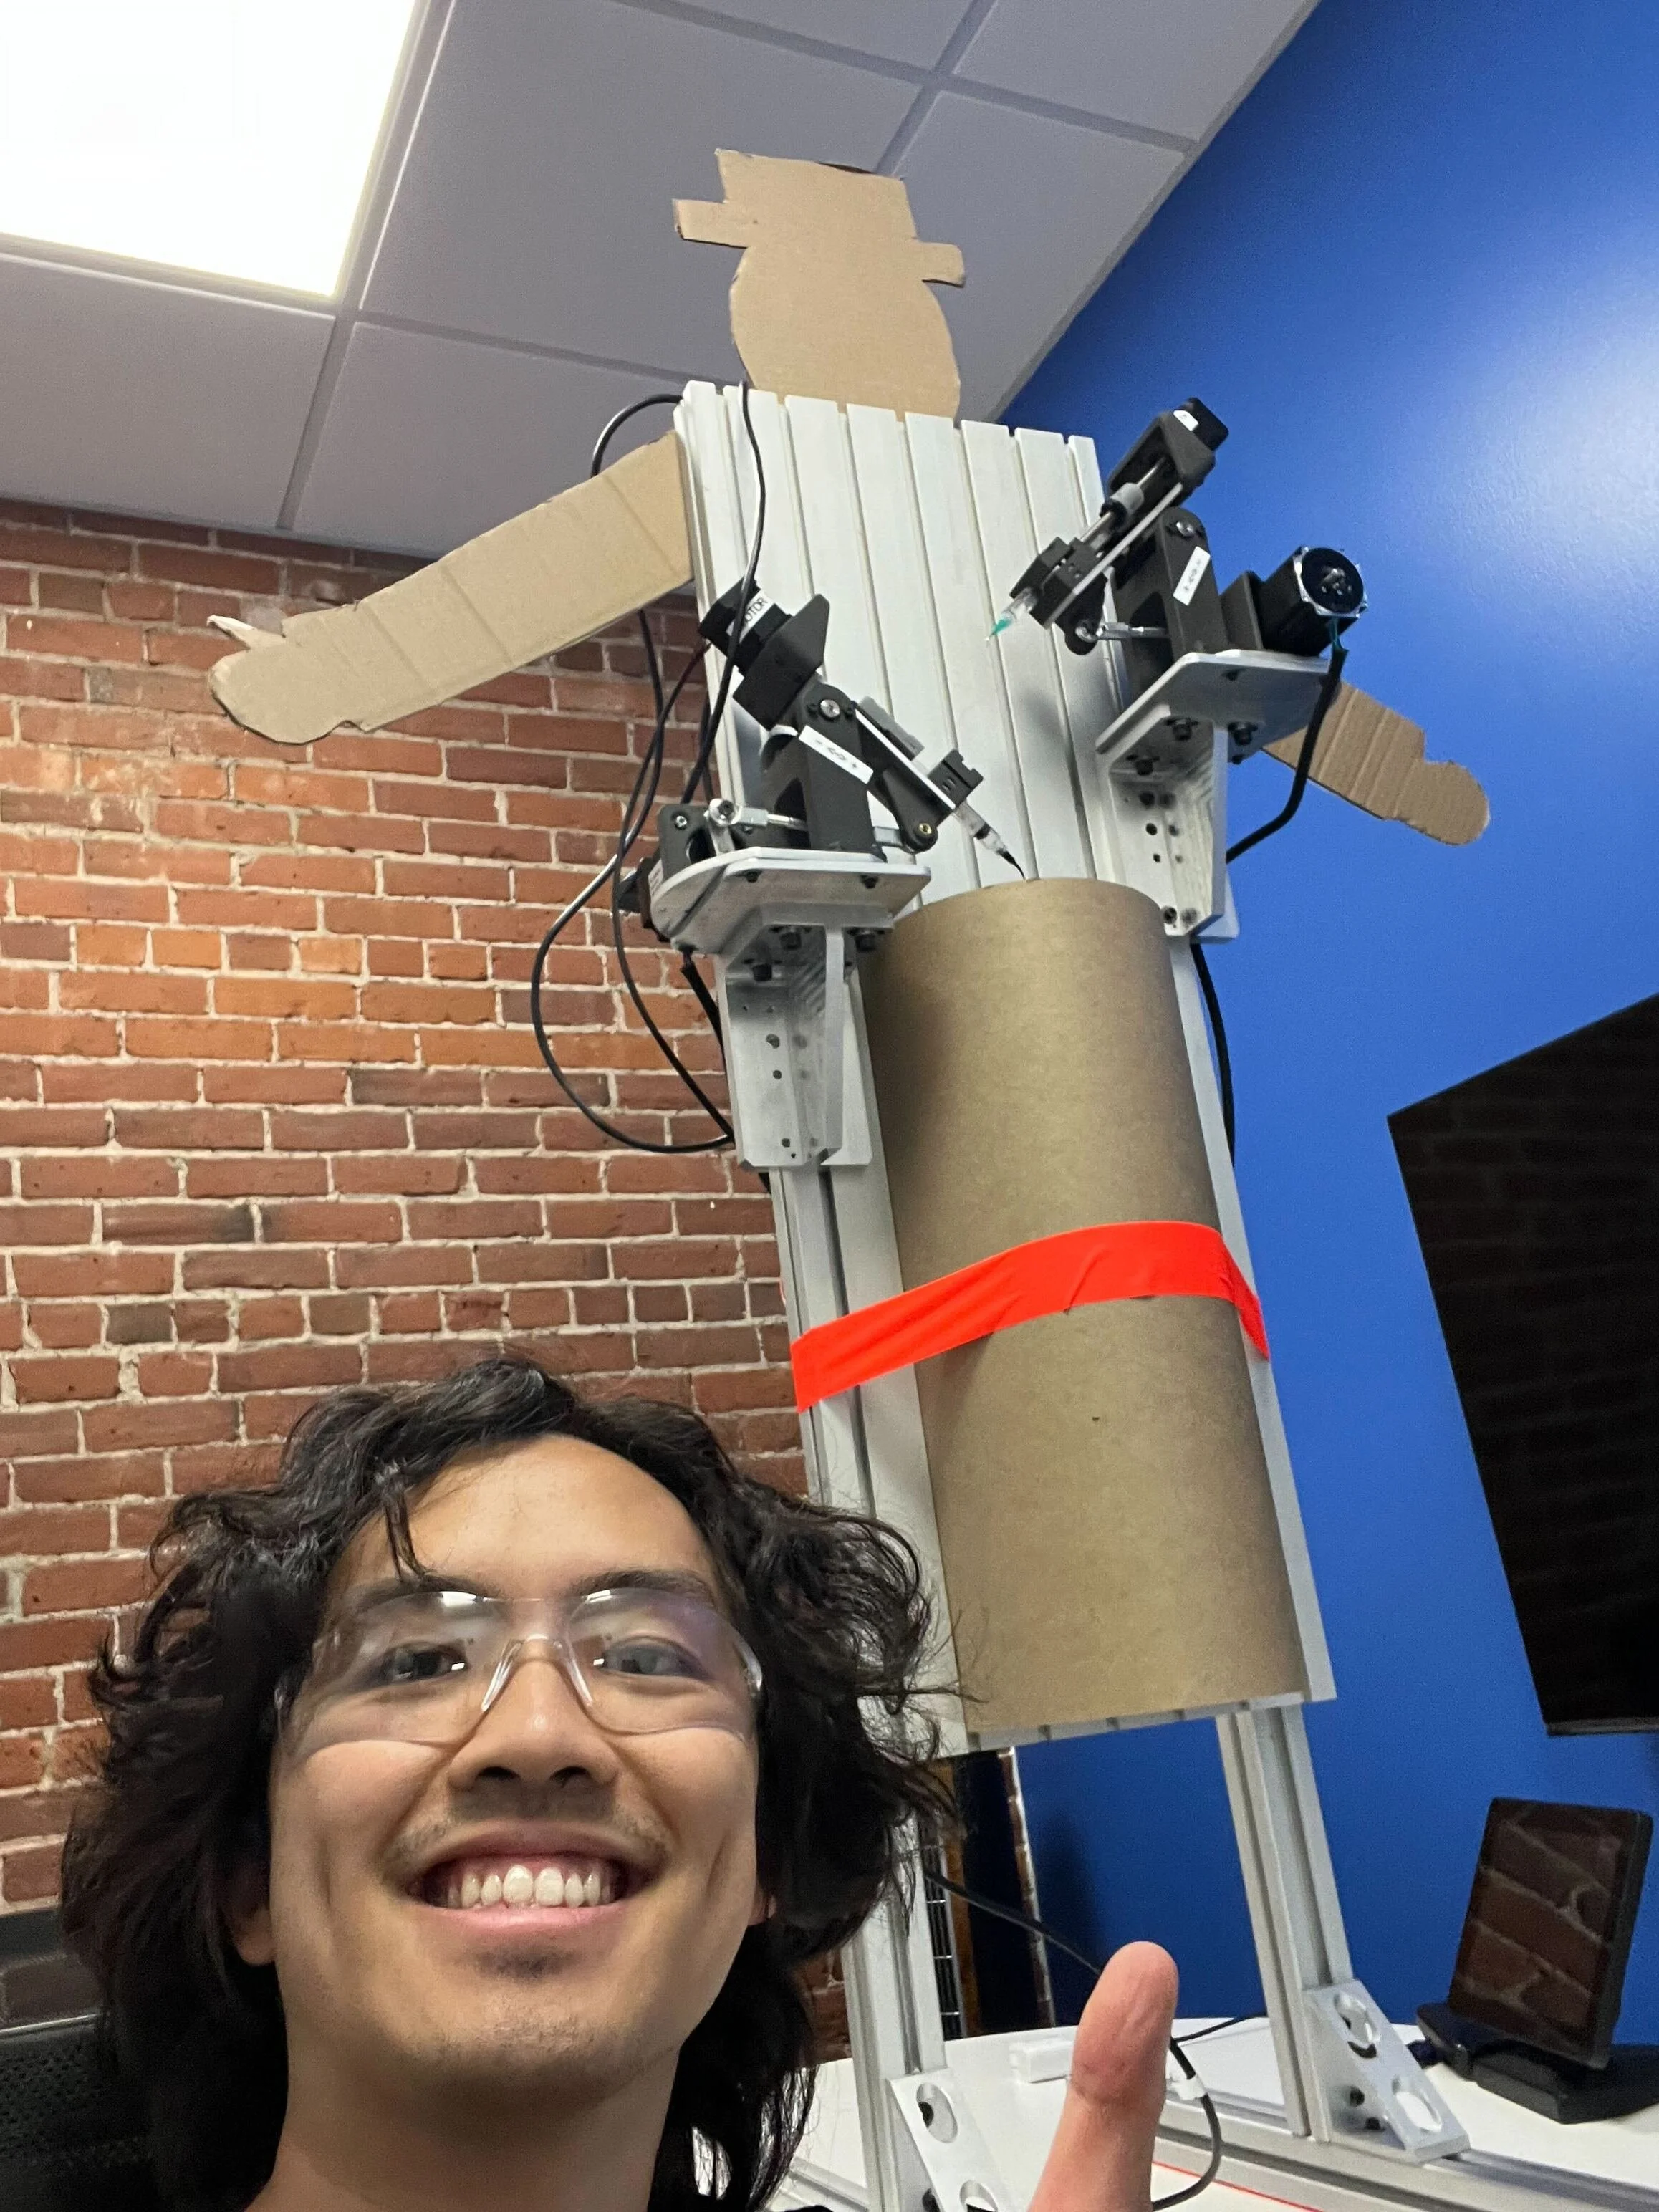
First photo taken after the build was complete. The monolithic slab of 8020 felt a little plain, so some cardboard was added to humanize our magnificent water dropper.
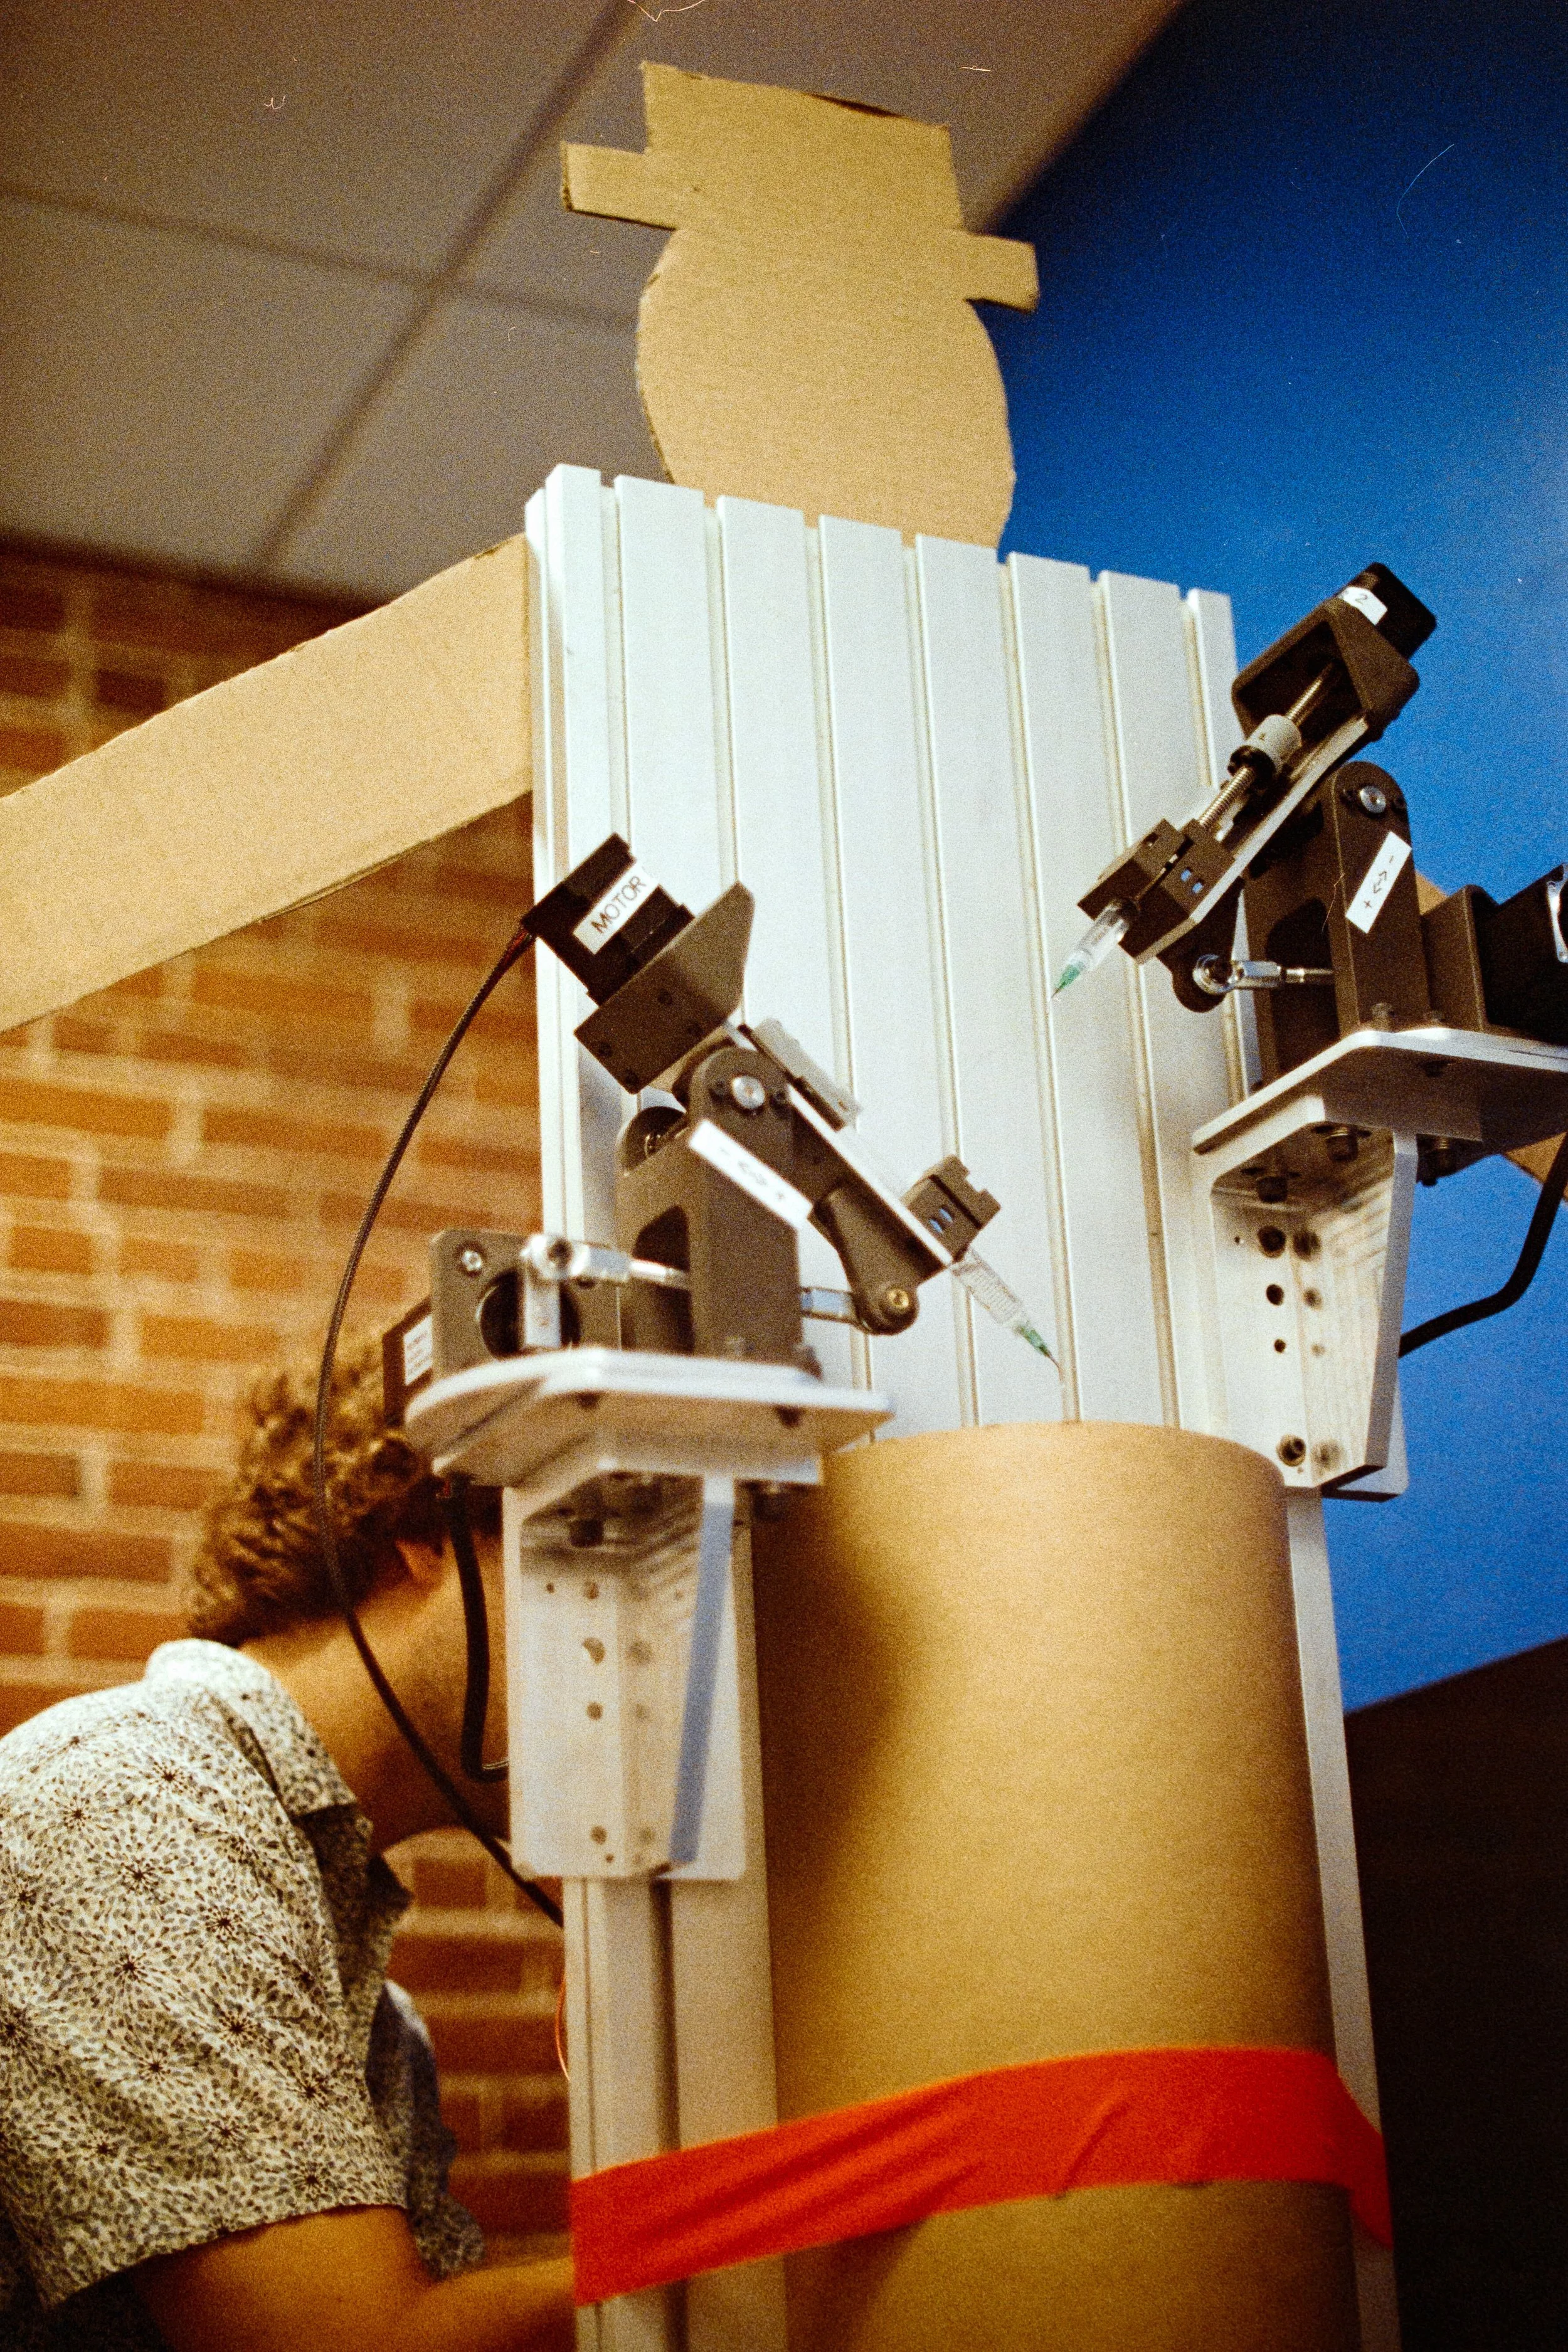
Sam debugging our stepper drivers after our motors decided to stop working. Our initial drops seemed to not be landing consistently which we attributed to the HVAC in the room. A large cardboard tube seemed to eliminate the issue completely.
First Drops
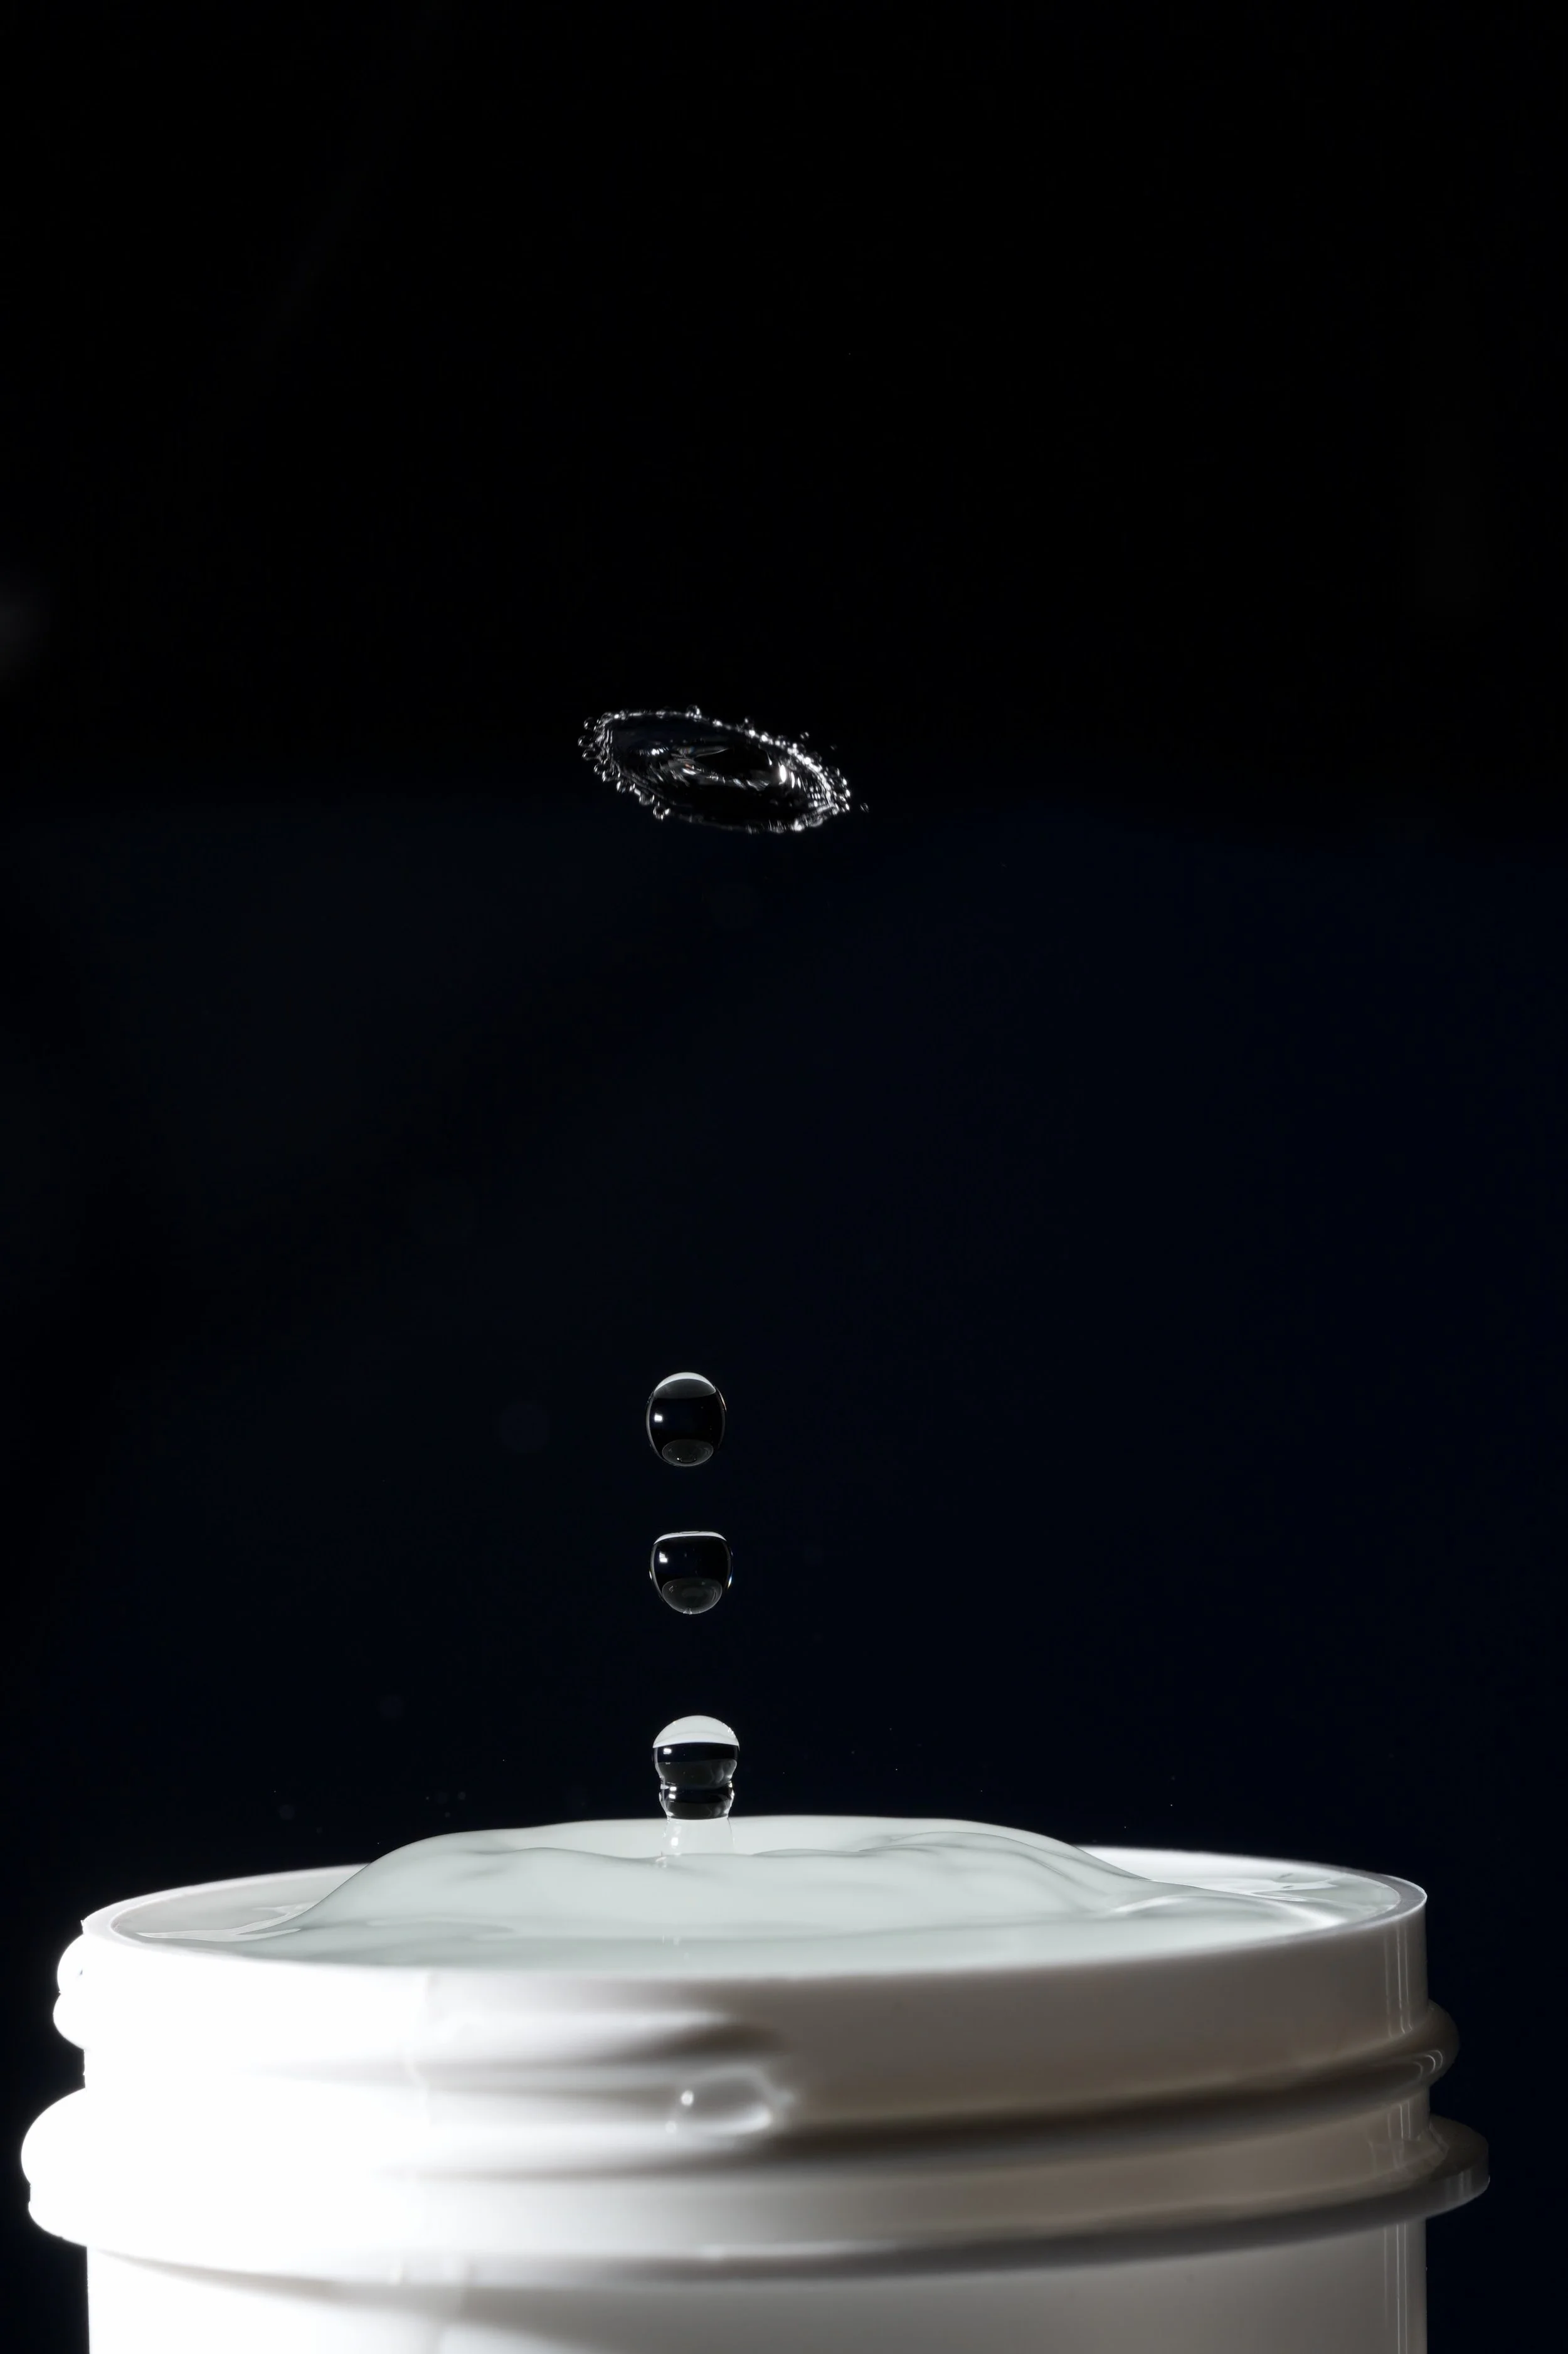
Before going crazy with multicolor droplets, we did lots of single and double drops from a single nozzle to better understand the system we had built. A reliable method of releasing droplets was found by filling a droplet to 95% of the final volume slowly, then sending a short but rapid burst of the last 5%. The video on the right shows the first double droplet collision that we captured.

Flash Sync
Next, a brutal process of guessing and checking was done to consistently sync the time at which the high speed flash would fire. Eventually, we landed on a timing that captured the first droplet at the apex of its rebound.
With consistent photos of the first droplet established, we started trying to drop the second drop from a higher nozzle and dodge the lower nozzle out of the way.
The photos shown on the left may look like typical water drop photos created from two drops originating from the same nozzle, but they are in fact from two different nozzles that are almost perfectly vertically aligned.
As far as I know, we were the first to do this!
Color Time
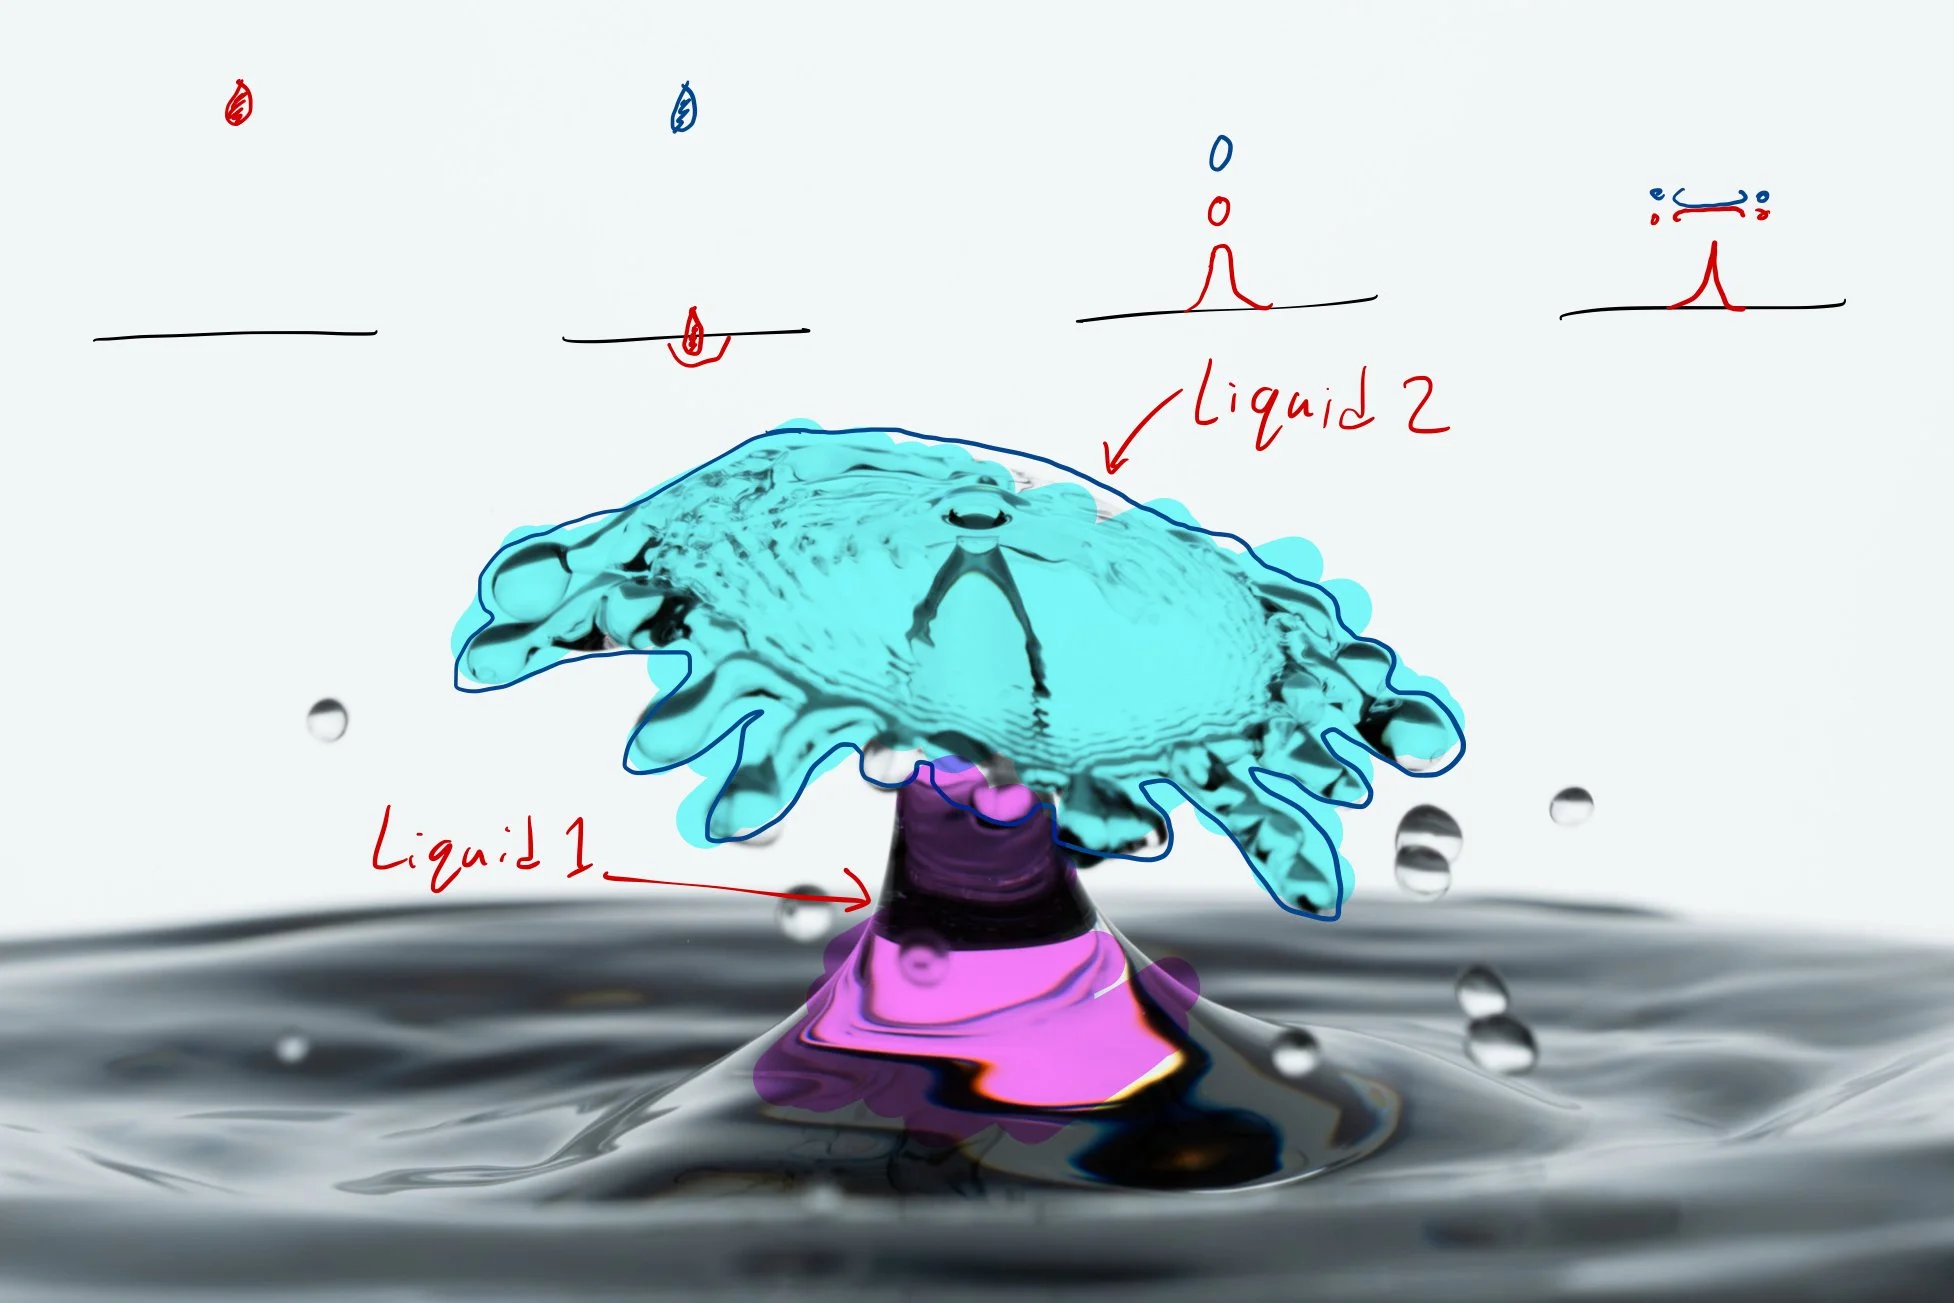
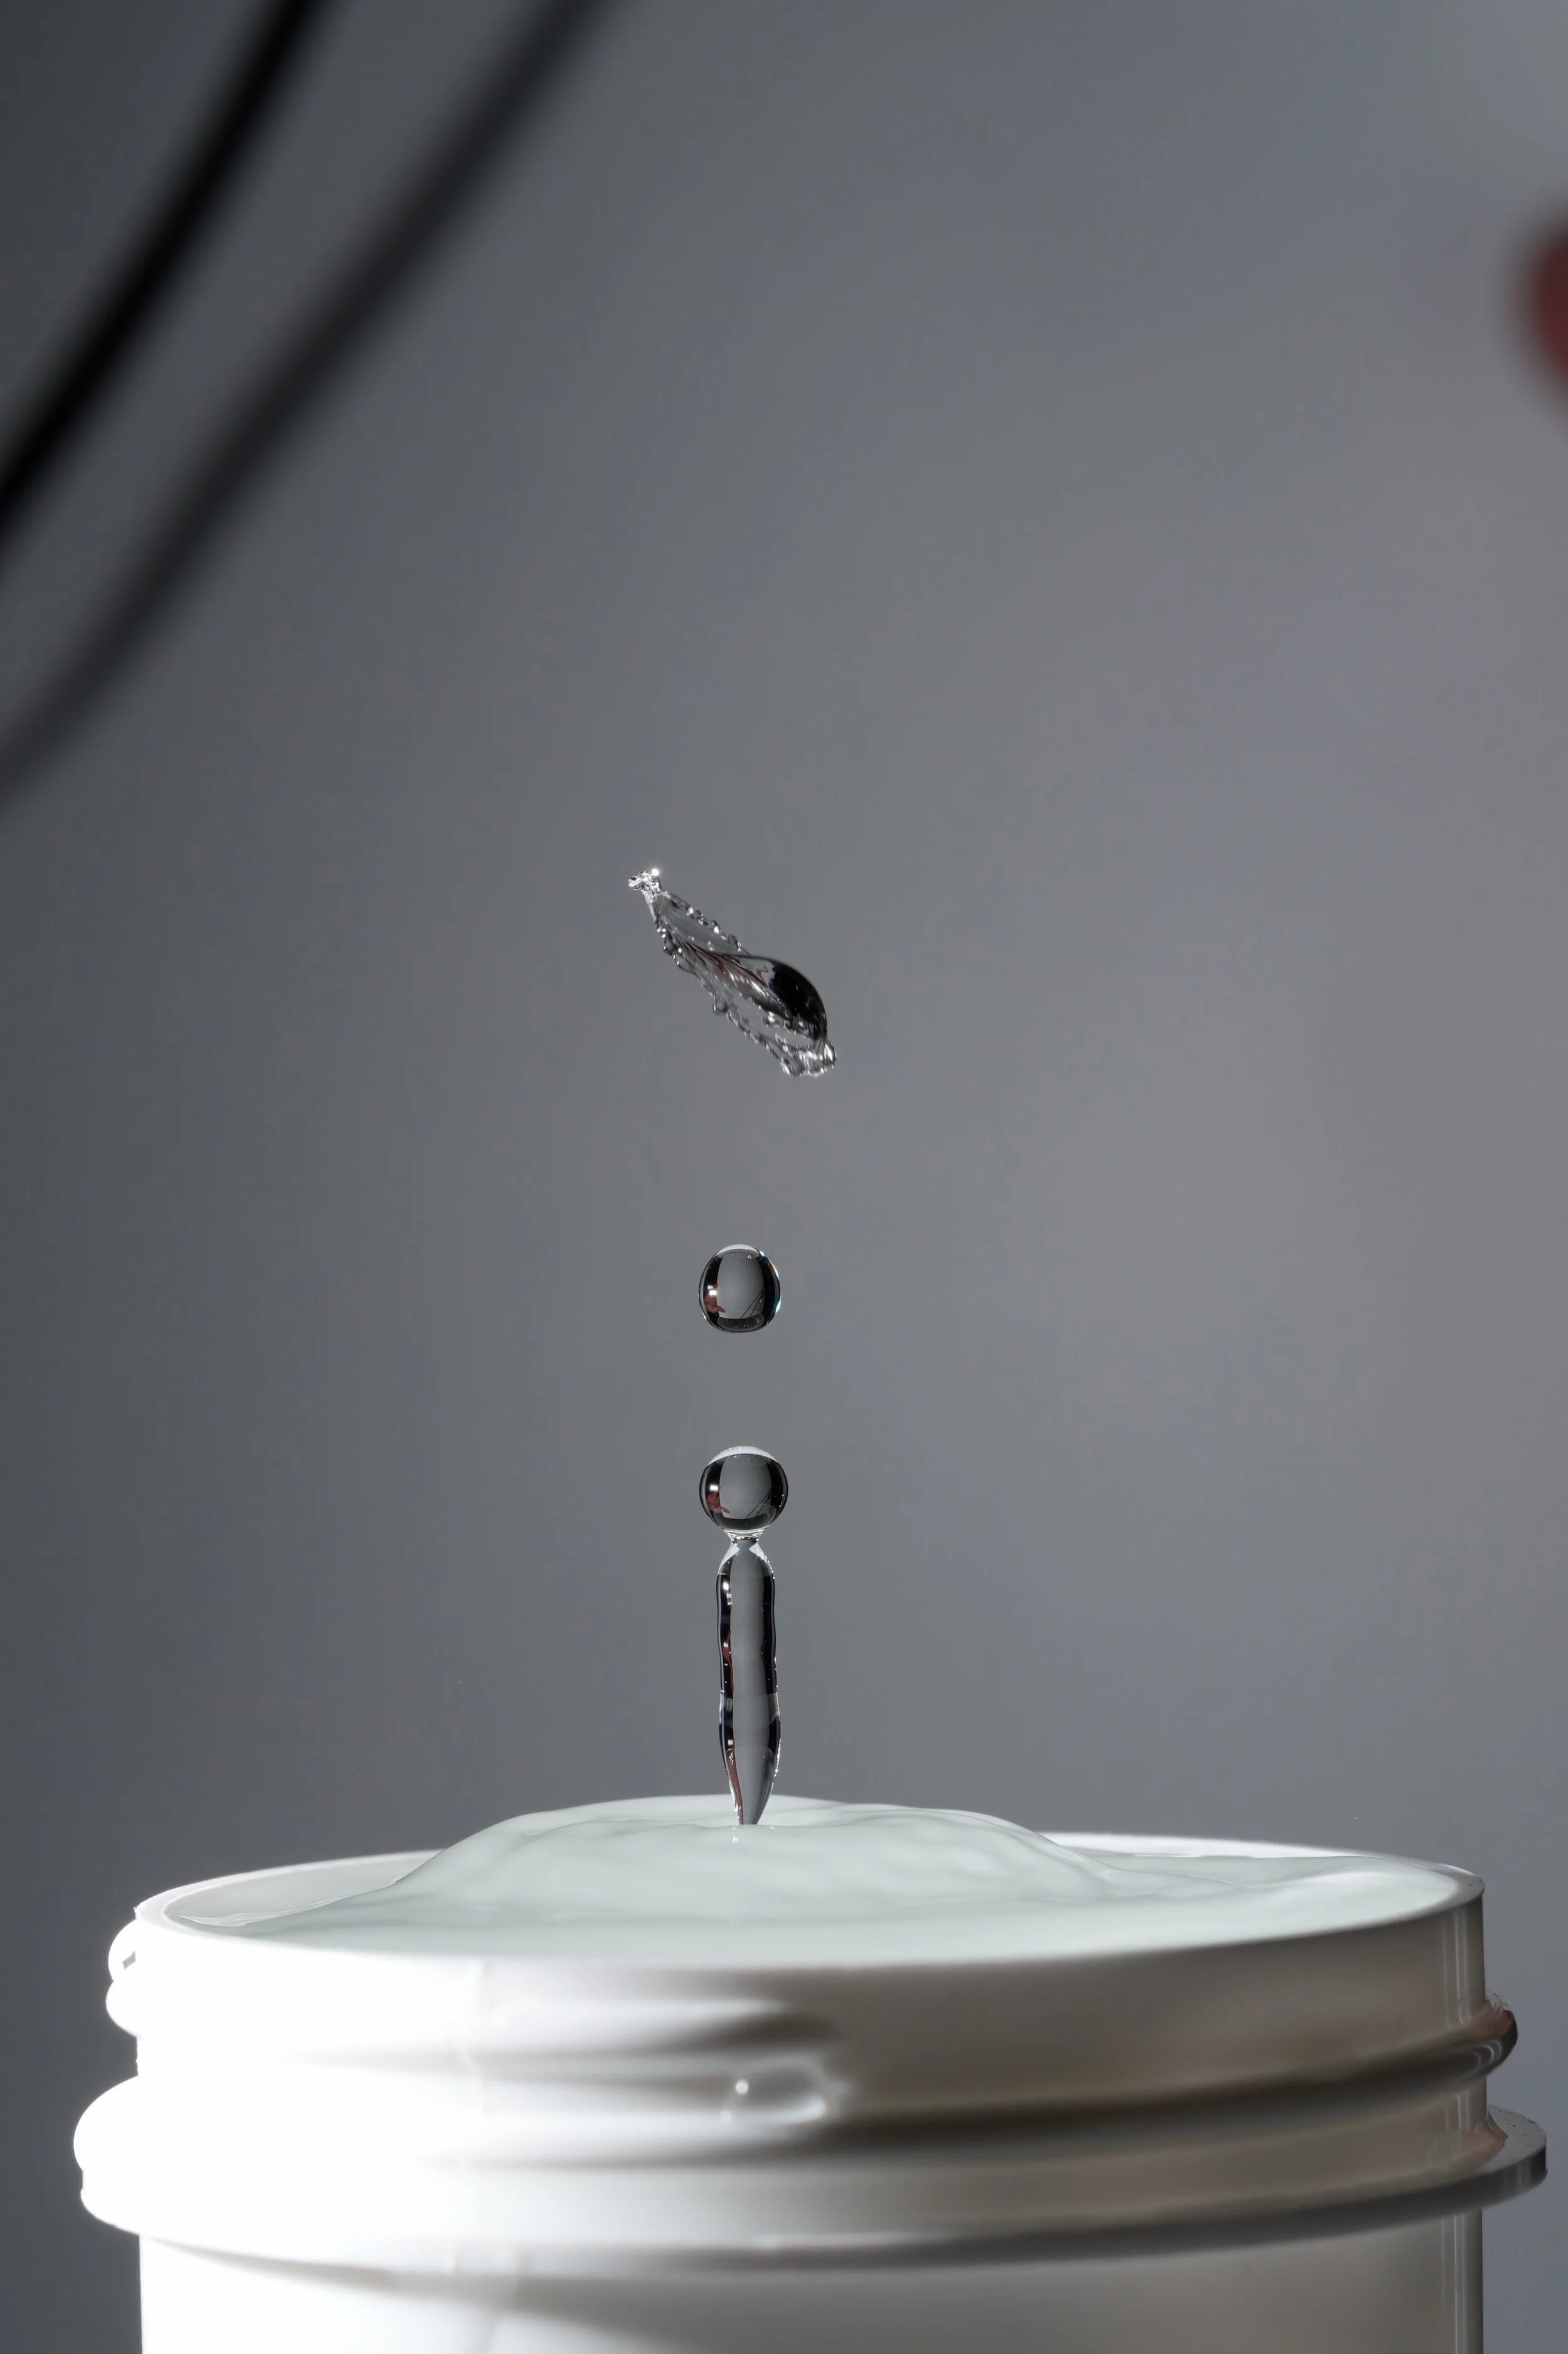
With all the pre-requisite work done, it was time to get to the good part. Multi-material drops. At the top of the frame, you can see the droplet priming method used for consistent timing. Note how the drops fill and are given time to stabilize before the final amount of volume is quickly injected to break the droplet free.
Directly below the blue droplet location, you can see the lower nozzle begins dodging out of the way immediately upon the release of the red droplet.
The landing of the blue droplet is timed so that it perfectly impacts during the apex of the rebound for the red droplet, which can just barely be seen at the bottom.
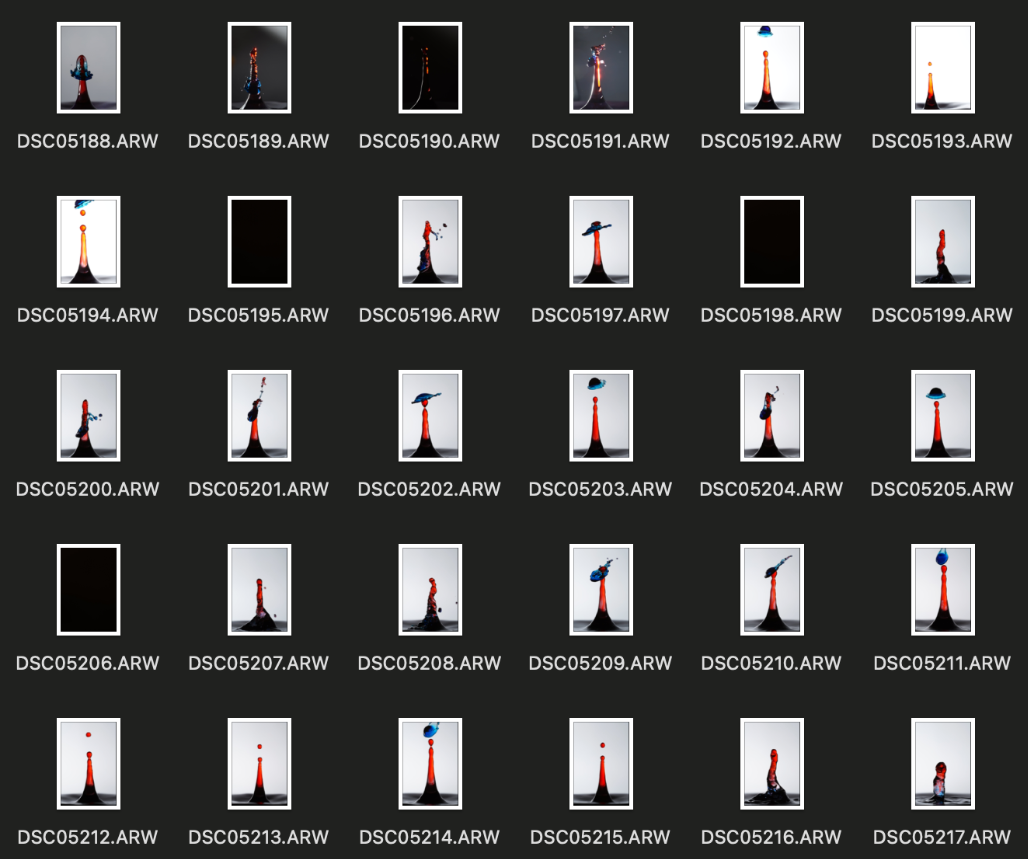
The photos above show 30 consecutive images from the dropper. It is incredibly repeatable, with the only issues being cause by user error (me forgetting to click the shutter before the flash went off)
Above is a POV of what using the dropper is like. You just run it, hit the shutter button right before the droplets hit the water, and watch the flash fire at the perfect time so that a magic image falls out the end every time. Using it is a unique experience, the flash briefly sears an image of the droplet collision into your eyes and moments later a high resolution detail view shows up on the camera’s display.
I hope you have enjoyed looking at this project.
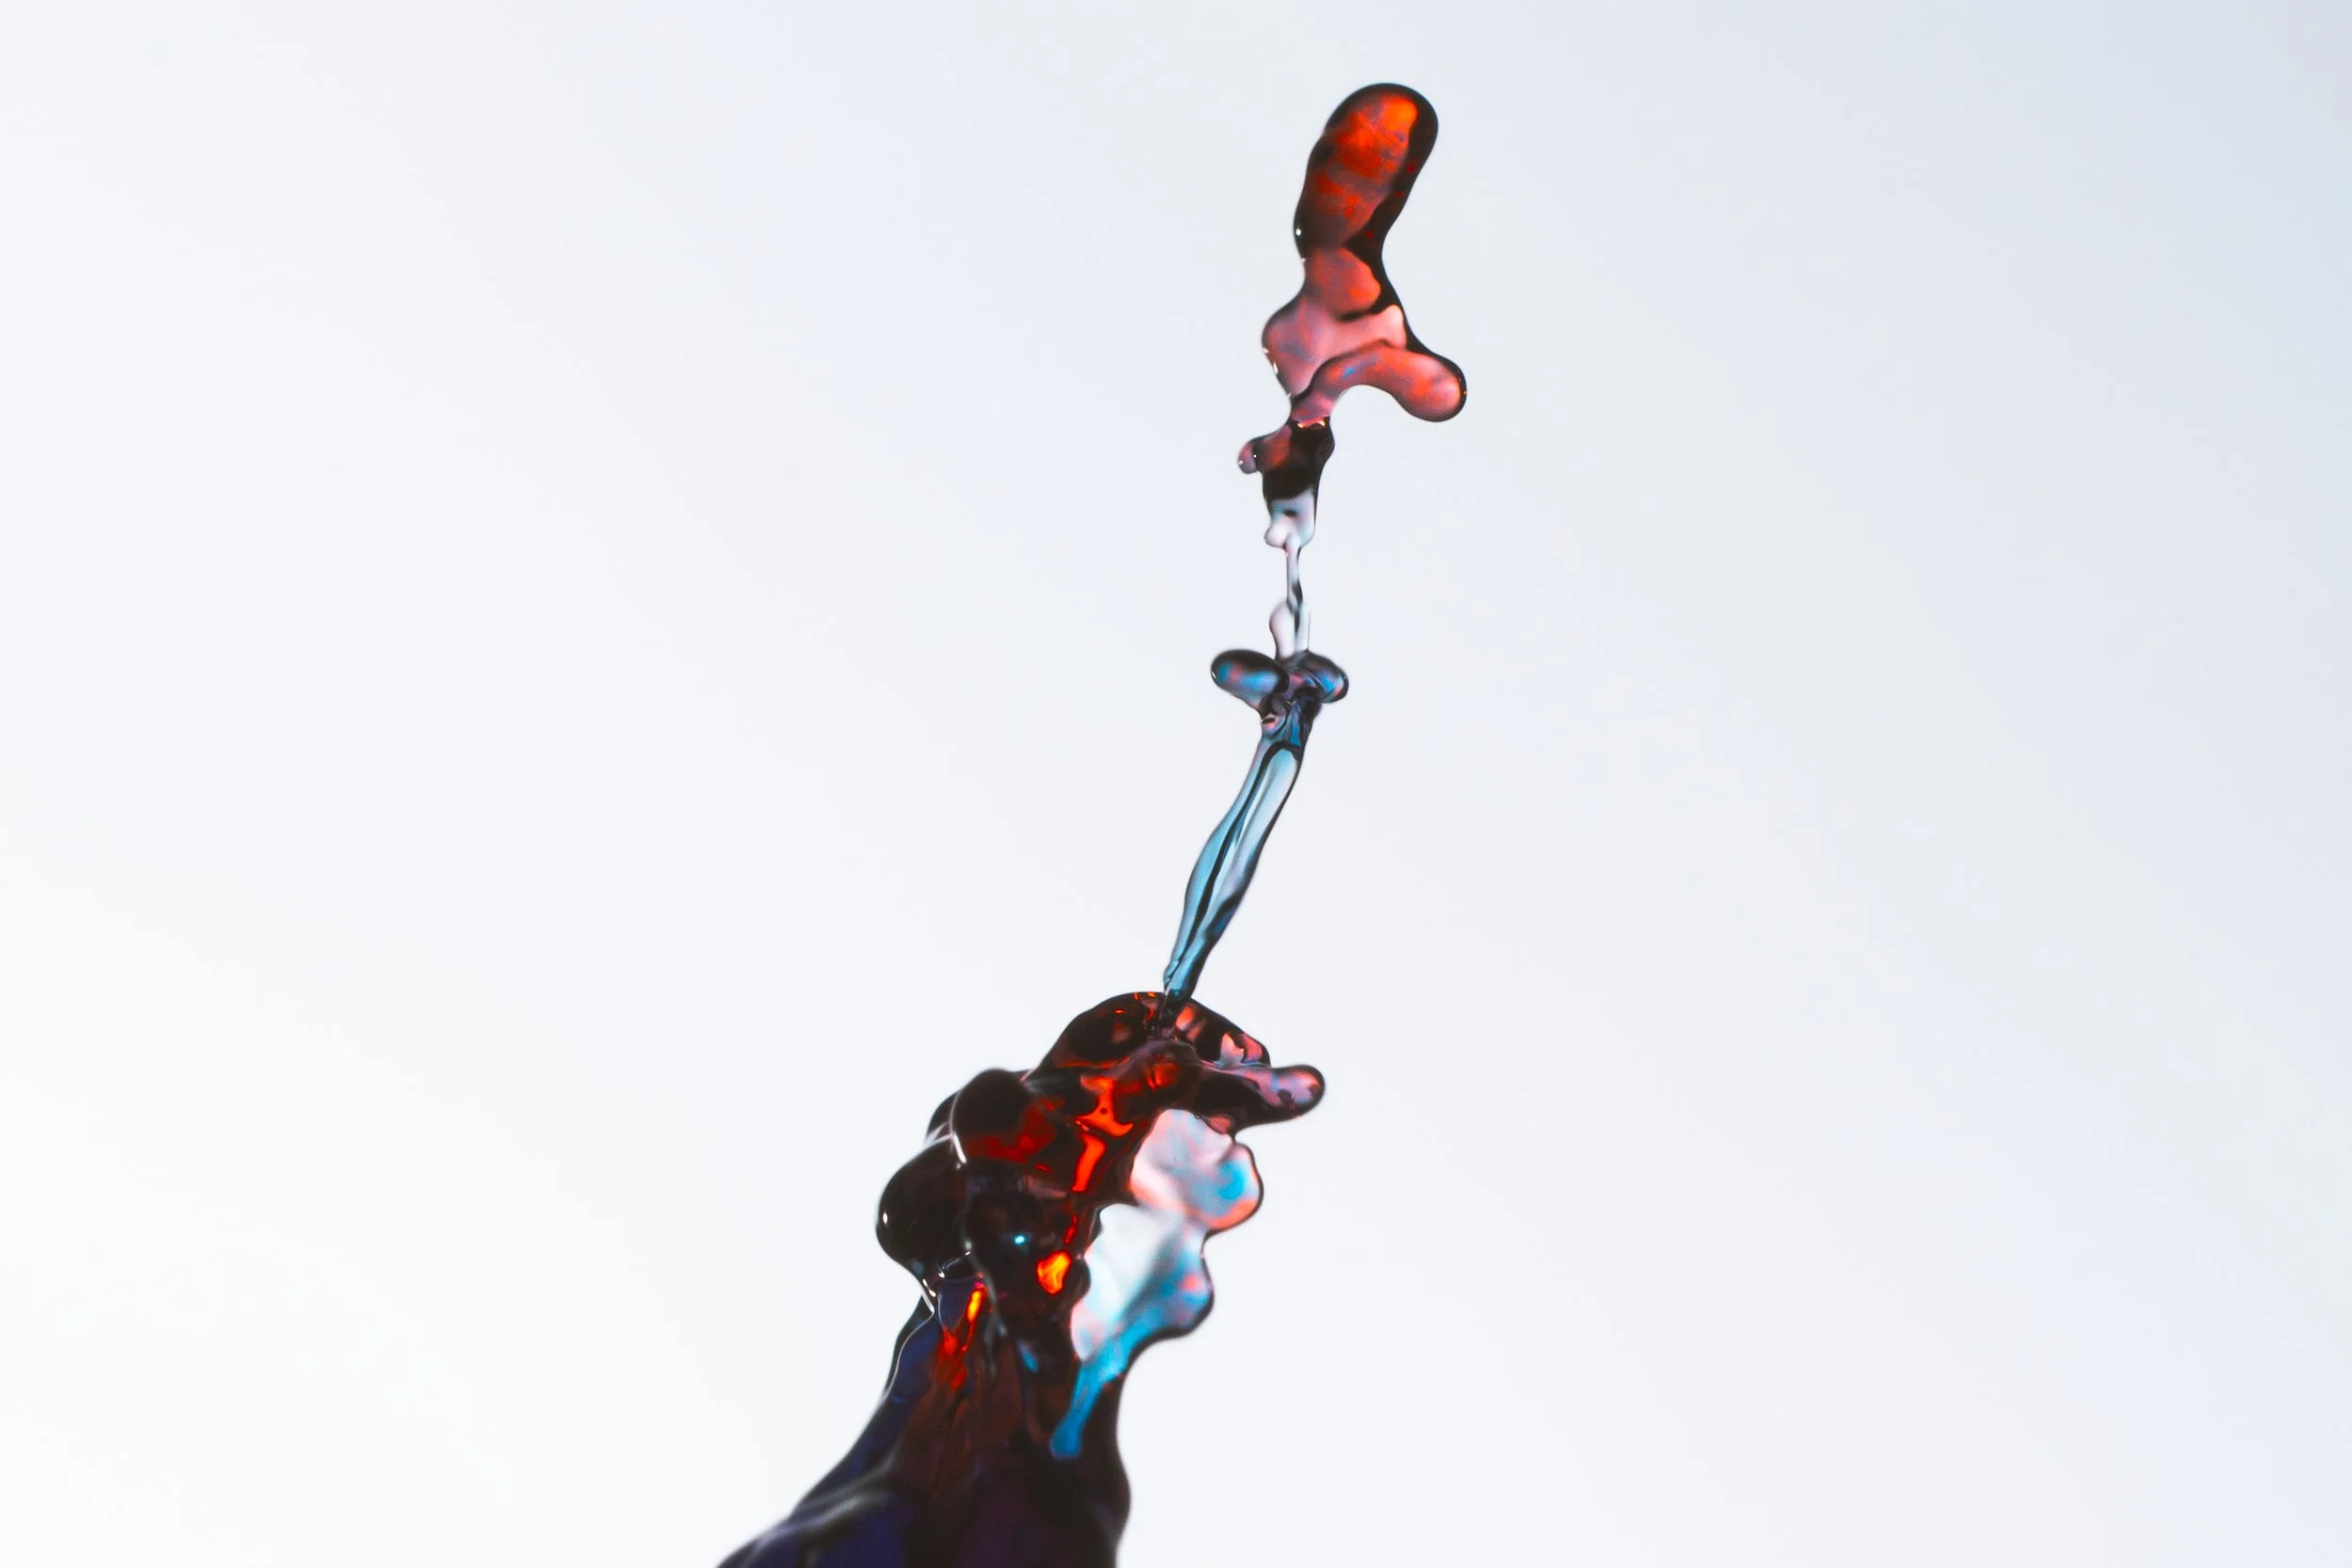
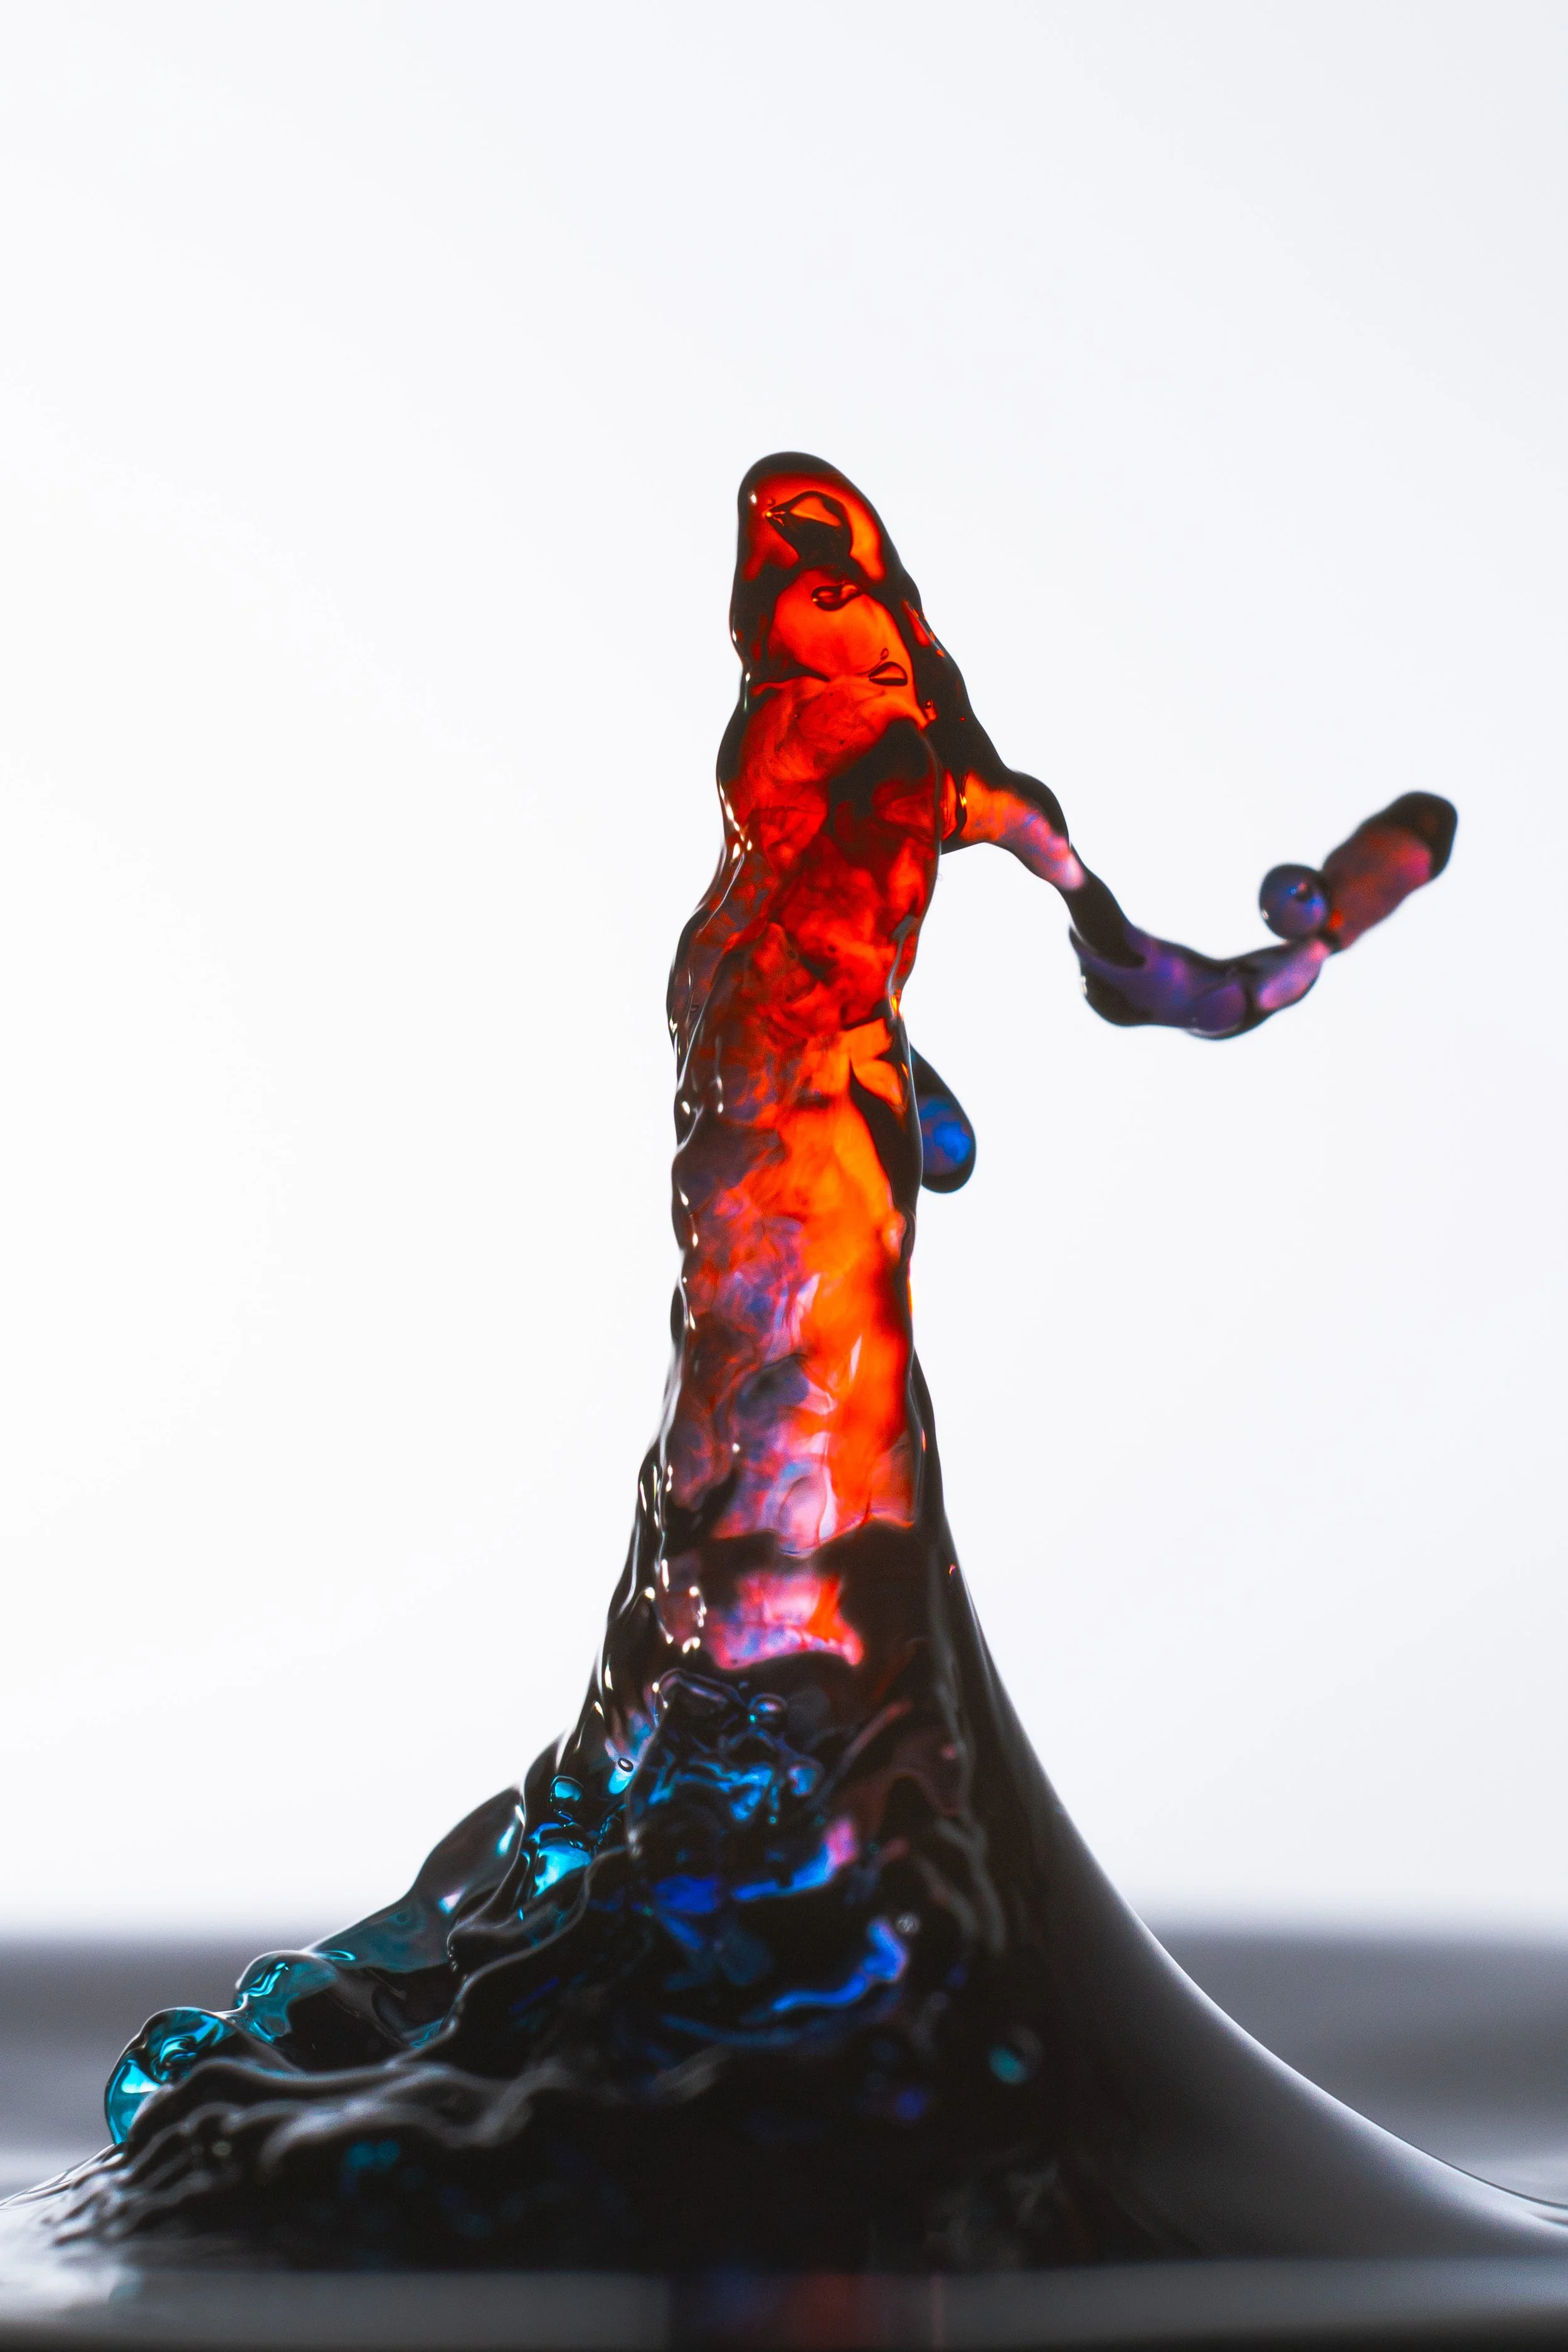
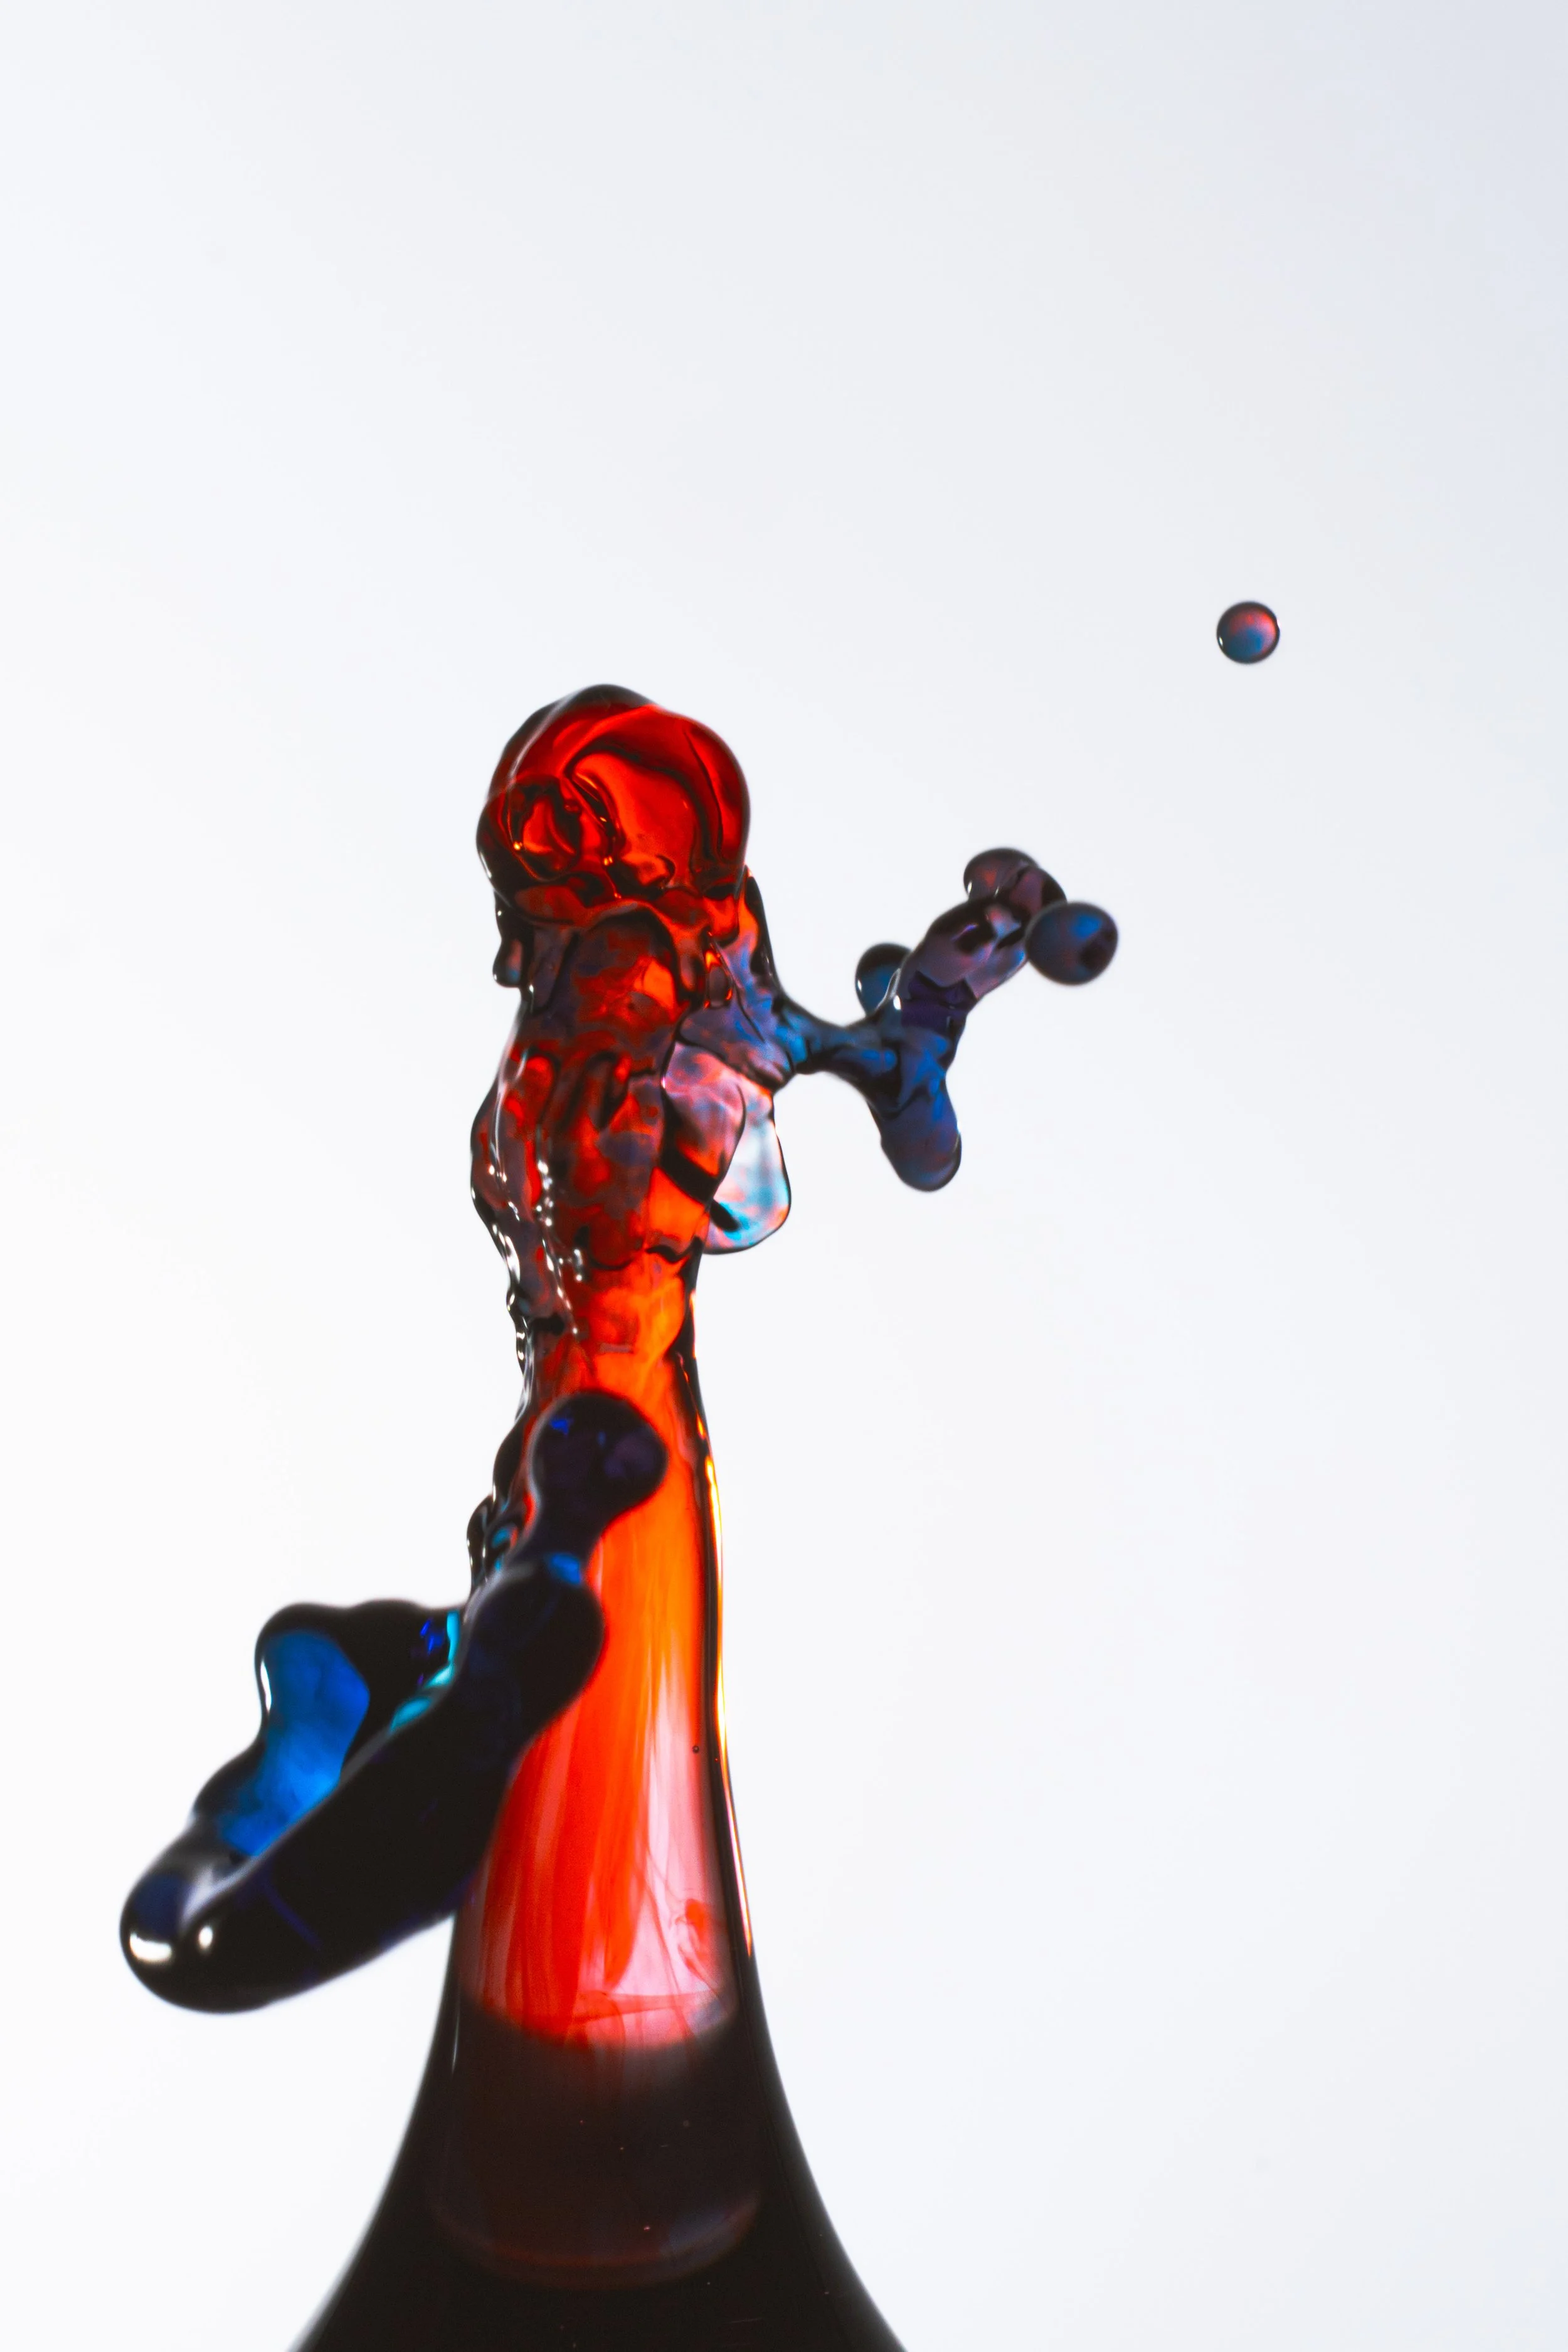
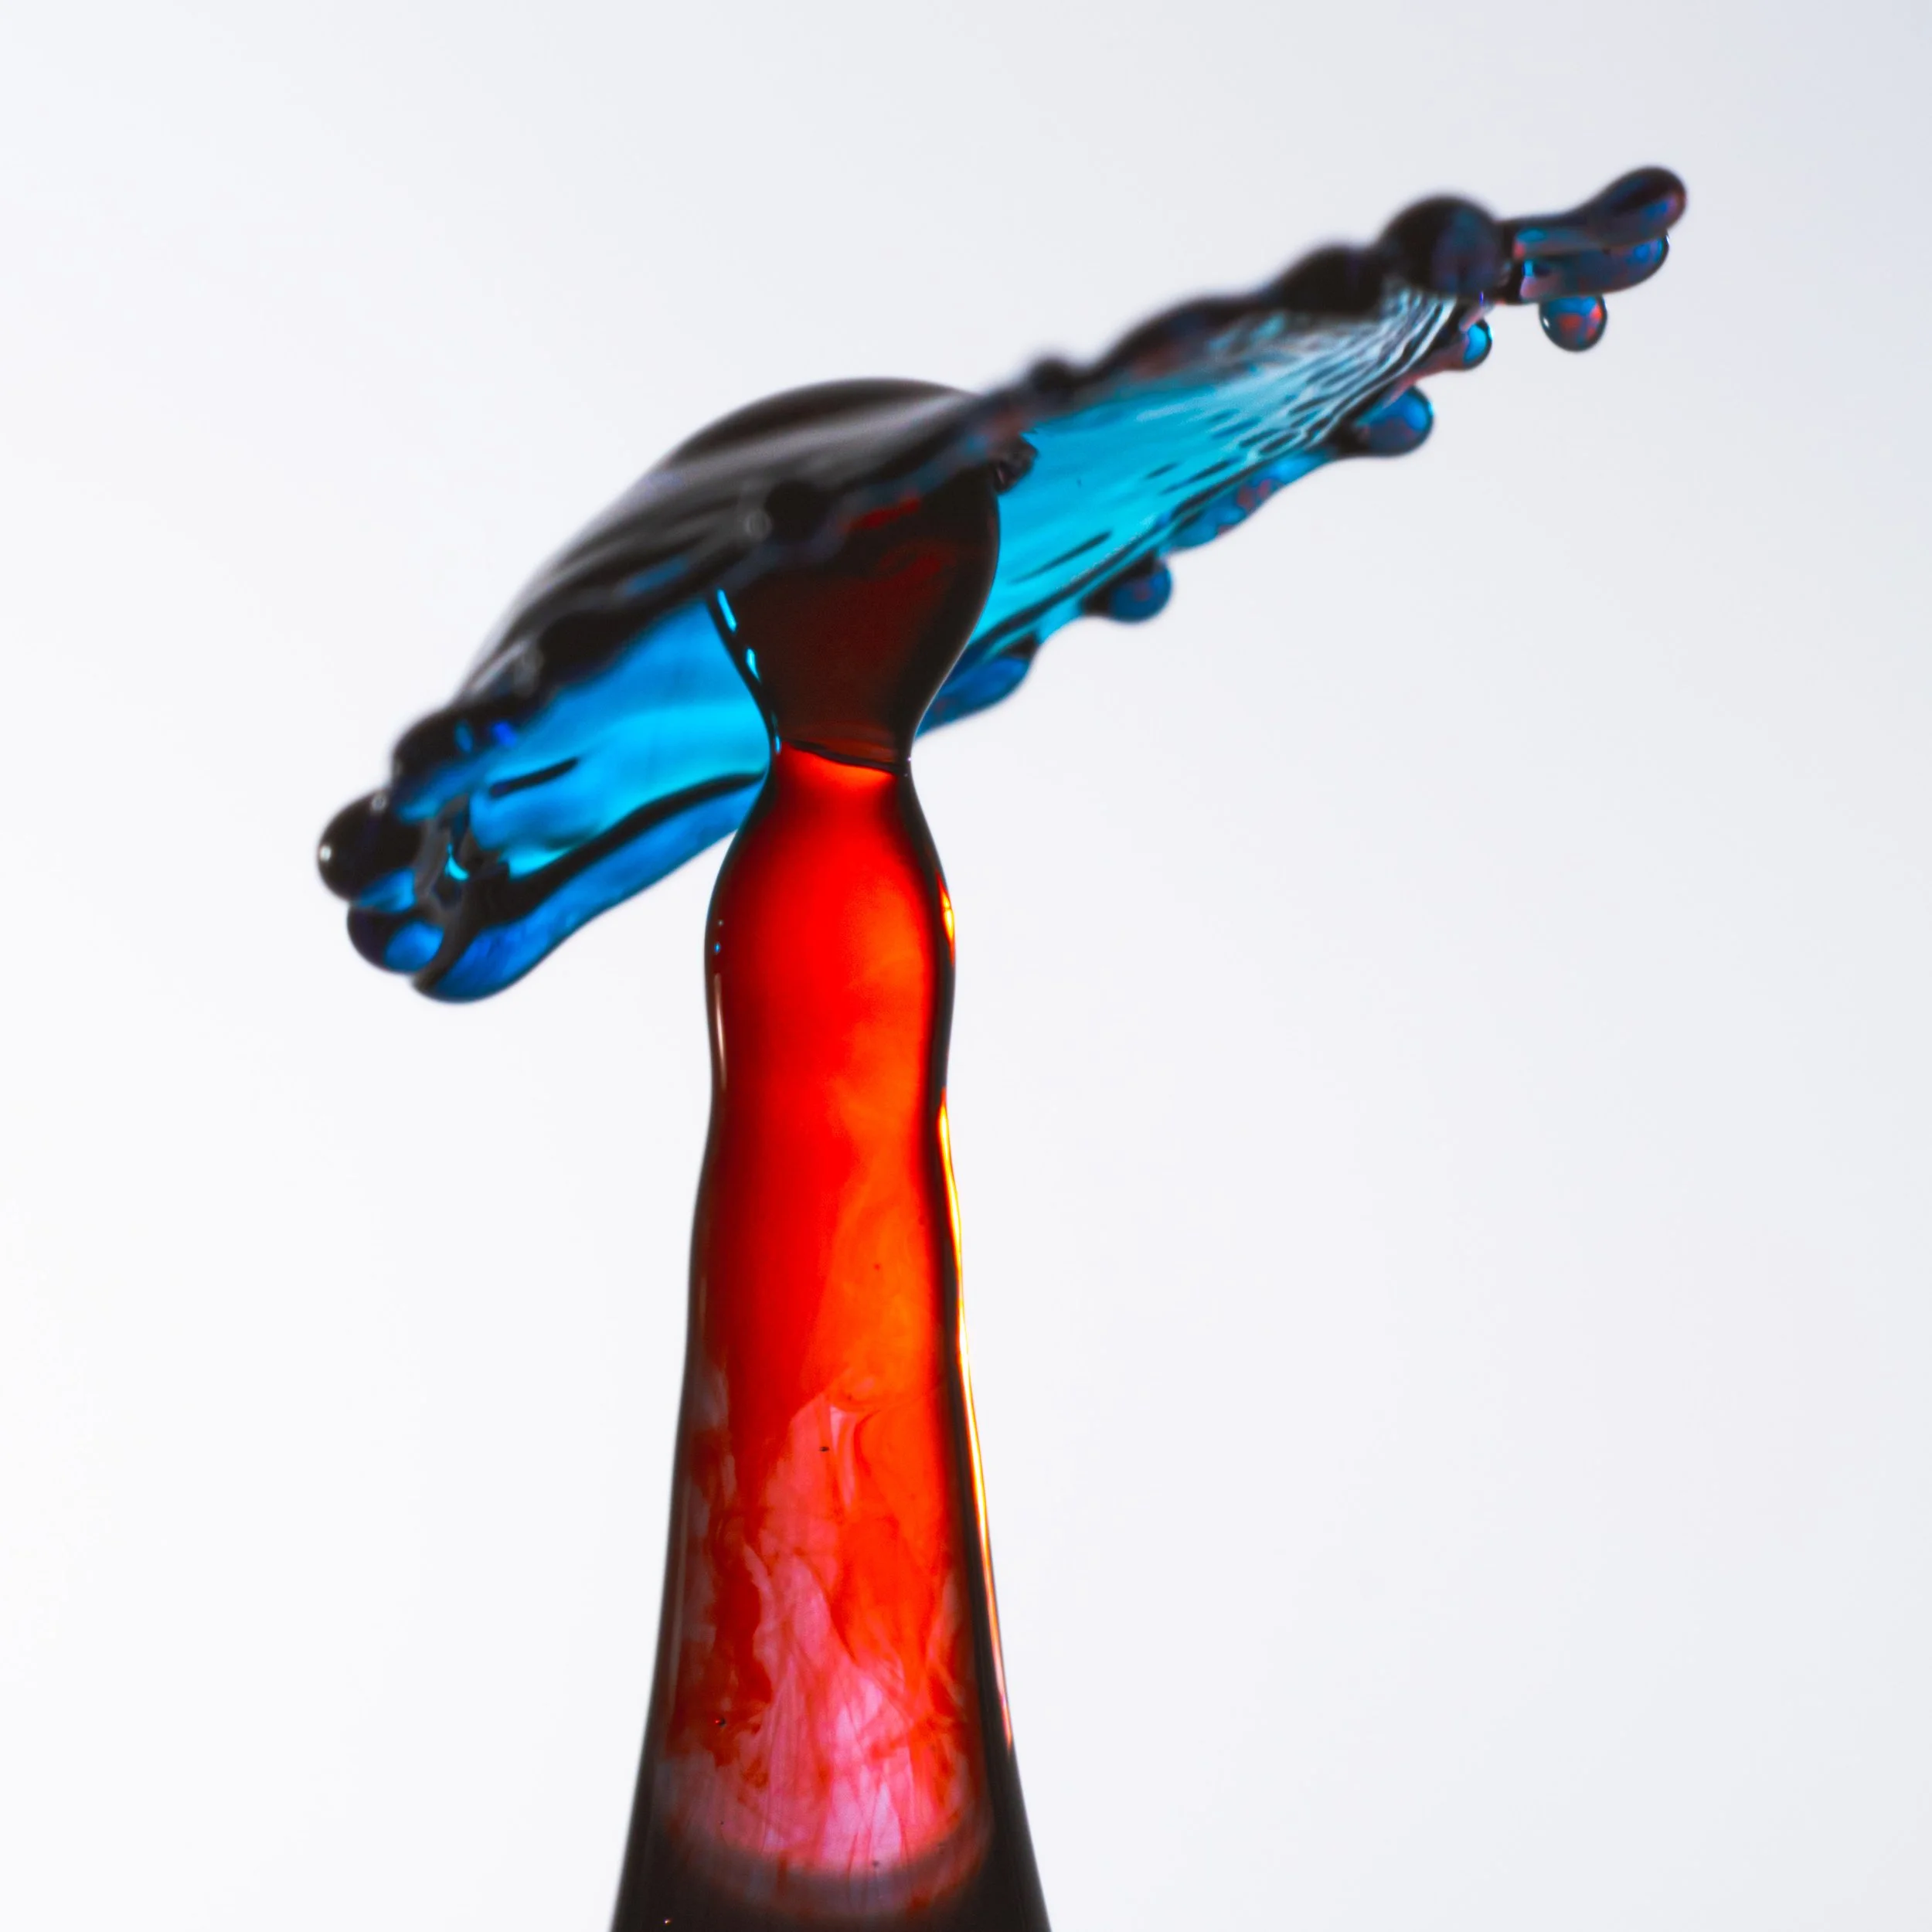
Below are some of my favorite images that I have captured using it.
Please, take some time to observe the intricate details of how the red and blue droplets blend during collision.